
How To Perform A Cooling System Flush On Your Diesel Engine. Diesel E
, by iFJF Direct, 16 min reading time
, by iFJF Direct, 16 min reading time

Why Diesel Engine Coolant Flushes Matter More Than You Think If you own a diesel truck, RV, or any diesel-powered equipment, the cooling system is one of the most critical — and most overlooked — main...

If you own a diesel truck, RV, or any diesel-powered equipment, the cooling system is one of the most critical — and most overlooked — maintenance items on your rig. Most owners change their oil religiously, swap fuel filters on schedule, and keep tabs on air filters. But the coolant? It often gets topped off and forgotten until something goes wrong.
That's a costly mistake. Diesel engines run hotter than their gasoline counterparts — typically operating in the 195–215°F (90–102°C) range under load. They also run higher average compression ratios and generate more BTUs per liter of displacement. When coolant degrades, it becomes acidic, forms scale deposits, and loses its ability to transfer heat efficiently. The result? Overheating, head gasket failures, cracked cylinder heads, and in severe cases, catastrophic engine damage that costs thousands to repair.
In this guide, adapted from real hands-on experience with diesel engines in commercial trucks and RVs, we'll walk through exactly how to perform a proper diesel engine coolant flush — whether you're doing routine maintenance on a 10-year-old RV or cleaning up after an oil cooler or fuel injector failure. We'll cover both the basic flush procedure and the more intensive post-failure flush, including which chemicals actually work, how to drain every hidden pocket of coolant in the system, and how to refill it correctly using a vacuum fill method that prevents air locks.
Before you start turning wrenches, identify which type of flush your engine needs. Using the wrong procedure wastes time and may leave contaminants behind.
Use this flush when your coolant is simply old, degraded, or you bought a vehicle with unknown service history. This is the routine maintenance scenario — no oil contamination, no fuel contamination, no mayonnaise-like coolant. Your coolant might be 3–5 years old, or you're following the manufacturer-recommended interval.
Use this flush when your coolant has been contaminated by another fluid. Common culprits in diesel engines include:
The post-failure flush requires multiple stages, specific cleaning chemicals, and far more disassembly. We'll cover this in detail in the Advanced section below.
| Tool / Part | Notes |
|---|---|
| Drain pan (minimum 20–30 qt capacity) | Diesel cooling systems hold 10–20 gallons; some RVs and buses hold up to 30 gallons |
| Thick gloves / safety glasses | Drain plugs and hoses are very hot even after a brief drain wait |
| Drain petcock wrench or adjustable wrench | Typically 3/8" or 10mm; some petcocks are plastic quarter-turn valves |
| Block drain plug socket or wrench | CAT engines (C7, C12, C13, C15): large bolt near oil cooler housing; size varies by engine |
| Distilled water (10–20 gallons) | Never use tap water — minerals cause scale buildup; distilled is essential |
| Radiator hose removal tool (clamp pliers) | Hose clamp pliers make removing heater hoses and lower radiator hose much easier |
| Catch containers for hose ends | Small pans for when you pull heater hoses and air compressor lines |
| Coolant system flush chemical (see guide for options) | CAT Cooling System Flush (lime/scale), Purple Power (oil contamination), Simple Green (oil contamination) |
| Vacuum fill tool or coolant funnel kit | Airlift/fill tool prevents air locks; far superior to pouring coolant in from the top |
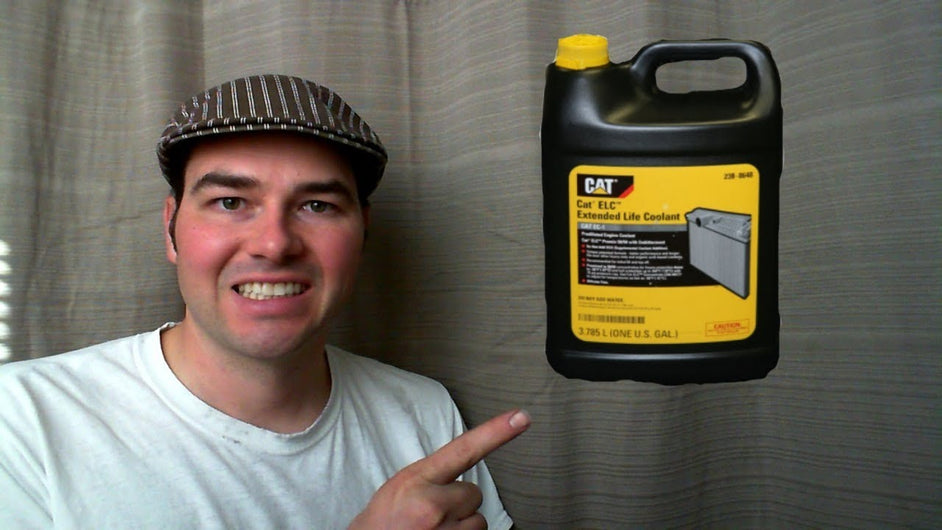
| New coolant (engine-specific type) | CAT ELC, Cummins-approved coolant, Detroit Power Cool, or OEM-spec coolant — never mix types |
| Thread sealant or new drain plug gaskets | Reinstall drain plugs with fresh sealant or new O-rings to prevent leaks |
Whether you're doing a basic maintenance flush or a post-failure flush, the engine must be at operating temperature before you drain. This serves two purposes:
Warm up the engine until the thermostat opens and the coolant temperature holds steady at or above 195°F (91°C). On most diesel vehicles and RVs, this takes 10–20 minutes of idle time or a short drive. You'll know the thermostat is open when the upper radiator hose becomes hot and pressurised — this indicates coolant is flowing through the entire system, including the engine block.
⚠️ Safety warning: The drain petcock, block drain plug, and radiator hose connections will be scalding hot. Wear thick gloves and eye protection. Have a catch pan positioned before you open anything.
This is where most DIYers fall short. Simply opening the petcock on the bottom of the radiator will drain the low point of the system, but diesel engines hold a massive amount of coolant in hidden pockets. A single drain point typically leaves 30% or more of the coolant in the system — trapped in the engine block, cylinder head, heater core, radiator hoses, and air compressor head.
Professional diesel mechanics drain from at least two points:
Open the petcock valve at the bottom of the radiator (or loosen the lower radiator hose clamp). Allow this to drain for several minutes. If drainage slows or stops before the system is empty, slowly loosen the radiator cap to break the vacuum created by the volume reduction — this will dramatically speed up drainage.
This is the critical step most people skip. Diesel engines are mounted at a slight rearward angle (tilted back), which means the block never fully drains through the radiator petcock alone. Locate and remove the block drain plug:
Catch the block drain in a separate container — this liquid is the hottest and often the most contaminated.
If you're doing a post-failure flush, go further. Remove the lower radiator hose and dump it. Pull one heater hose off — the heater core on most diesel vehicles holds a surprising volume of coolant. If the air compressor is accessible, remove the air compressor discharge line — the air compressor head traps coolant that won't drain through the block or radiator.
For a cooling system in good condition — no heavy lime scale, no solder blooms, no oil contamination — the process is straightforward:
If you have oil, fuel, or heavy lime contamination, you need a chemical-assisted flush. This is more involved and requires multiple stages:
Stage 1 — Hot Soap Flush
Fill the system with hot water and a degreasing agent. Based on field experience from diesel technicians, the most effective options are:
Do NOT use Cascade or other dishwasher powders — while they don't foam (which has some benefits), non-foaming agents only clean surfaces that are fully submerged. They won't reach the top of your expansion tank, the top of the radiator, or any area with trapped air bubbles. A foaming degreaser will scrub those areas as the foam expands.
Run the engine with the degreaser mixture for 30–60 minutes. Make sure the heater core valves are open — you want to flush coolant through the entire system including the heater core. Drive the vehicle or run the engine under load if possible.
Drain completely from all drain points.
Stage 2 — Repeat Soap Flush
Refill with fresh hot water and degreaser (same concentration). Run for 30–60 minutes. Drain completely again.
Stage 3 — Clean Water Flush
Fill with distilled water only. Run for 30–60 minutes. Drain completely.
Stage 4 — Final Water Rinse
For maximum thoroughness, do one final distilled water flush. The goal is zero residue before you introduce new coolant.
⚠️ Important: If your cooling system is so badly contaminated that running the engine hot is risky (coolant flow is restricted and temperatures could spike), you may need to perform the initial flush cold. This is less effective but safer when the system is totally blocked. Once you've removed the worst of the contamination, re-run the hot flush stages.
The most common mistake after a flush is improper refilling. Pouring coolant into the expansion tank from the top almost guarantees air locks — trapped air bubbles in the system that block coolant flow, cause hot spots, and can lead to overheating even with fresh coolant.
The professional method is a vacuum fill (airlift fill):
If you don't have a vacuum fill tool, the next best method is to fill slowly at the highest point of the system (expansion tank cap), then run the engine with the cap off until you see coolant flowing through the upper radiator hose, then reinstall the cap. Crack any bleeder screws on the system if equipped.
Never mix coolant types. Diesel engines are particularly sensitive to coolant chemistry. Here are the most common specifications:
| Engine / Brand | Recommended Coolant | Service Interval |
|---|---|---|
| CAT Diesel (all models) | CAT ELC (Extended Life Coolant) — fully formulated, pre-mixed 50/50 | 600,000 miles / 12,000 hours / 6 years (whichever comes first); add SCA supplement at 3 years / 300,000 miles |
| Cummins ISX, ISL, ISC, ISB | Cummins Fleetguard ES Compleat or OEM-spec coolant | Follow OEM intervals; typically 500,000–1,000,000 miles with proper testing |
| Detroit Diesel Series 60, DD13, DD15, DD16 | Detroit Power Cool 2000 or Detroit OEM coolant | Per manufacturer specification; heavy-duty detergent formulations required |
| Ford 6.0L / 6.4L / 6.7L Powerstroke | Motorcraft Premium Gold or equivalent meeting WSS-M97B51-A1 | Motorcraft spec for 6.0L recommends extended intervals with proper testing; always verify with your owner's manual |
| GM 6.6L Duramax (LB7 – L5P) | GM Dex-Cool (orange) or equivalent; do NOT mix with green conventional coolant | 5 years / 150,000 miles; Dex-Cool specifically degrades if exposed to air — keep system sealed |
Critical rule: If you don't know what coolant is in your system, flush it completely and refill with the correct type. Mixing conventional green coolant with extended-life coolants (orange, yellow, pink) causes chemical reactions that degrade both coolants faster and can form sludgy deposits.
| Tip | Why It Matters |
|---|---|
| Drain from the block, not just the radiator | Up to 30% of your coolant sits in the engine block, which doesn't drain through the radiator petcock alone due to engine tilt angle. Missing the block drain means you're mixing old contaminated coolant with new coolant. |
| Break the vacuum before you drain | Removing the radiator cap mid-drain releases vacuum lock and speeds up drainage dramatically. It also helps you drain more completely from the block since coolant will flow downhill freely rather than fighting suction. |
| Use foaming degreasers for post-failure flushes | Non-foaming agents like dishwasher powder only clean fully submerged surfaces. The top of your expansion tank, the top of the radiator, and any area with trapped air will be untouched. Foaming degreasers expand into those gaps and scrub clean. |
| Flush the heater core separately | Many post-failure flushes still leave the heater core contaminated because the flow is restricted by the heater control valve. Open the valve, bypass it, or disconnect the heater hoses to ensure coolant flows through the heater core during the flush. |
| Test coolant pH before reusing | After a post-failure flush, use a coolant test strip to verify pH is neutral (6.5–8.5 range). Acidic coolant (pH below 6.5) indicates residual contamination that needs another flush. Reusing bad coolant destroys your fresh fill quickly. |
Follow your engine manufacturer's specification, not a calendar. Modern extended-life coolants (ELC) have much longer intervals than conventional coolants. As a general guideline:

While a coolant flush protects your cooling system, the fuel system needs equal attention on any diesel. iFJF Direct carries a full line of diesel fuel filters, fuel filter heads, and fuel system components for Ford Powerstroke, GM Duramax, and Dodge Cummins — all at competitive prices with fast US shipping.
If you're already in the engine bay doing a coolant flush, it's the perfect time to check your fuel filters too — iFJF's reusable filter heads and premium spin-on filters make preventive maintenance fast and affordable.
Shop GM Duramax Parts →A basic maintenance flush takes 2–3 hours total: 30 minutes to heat up and drain, 1 hour to run the distilled water flush, another drain, and 30–60 minutes to refill using the vacuum fill method. A post-failure flush with multiple degreaser stages takes considerably longer — plan for 4–6 hours or spread it across two days.
Never use tap water — it contains minerals that cause lime scale and solder bloom deposits in diesel cooling systems, which are already prone to high-temperature operation. Always use distilled or deionized water for flushing. For the final fill, use the coolant type specified by your engine manufacturer — do not use conventional green antifreeze in engines that require ELC (extended-life coolant) and vice versa.
Degraded coolant becomes acidic, which corrodes water pump seals, cylinder head surfaces, and radiator tubes from the inside. It also loses its heat-transfer efficiency, causing higher operating temperatures. In diesel engines that run hot under load, this leads to head gasket failures, cracked cylinder heads, and failed EGR coolers — all far more expensive than a $30–50 coolant flush.
A flush uses volume — large quantities of water or flushing solution circulated through the system — to physically push out old coolant and contaminants. A clean uses chemical agents (like CAT Cooling System Flush for lime scale or Purple Power for oil contamination) to dissolve deposits that won't flush out mechanically. For heavily contaminated systems, you need both: a chemical clean followed by a full flush to remove the dissolved material.
Mayonnaise-like or brown coolant is a sign of oil contamination — typically from a failed oil cooler, cracked cylinder head, or leaking head gasket. If your coolant looks like this, you have an active internal leak that must be diagnosed and repaired before a flush. A flush without fixing the source will just contaminate your fresh coolant again. Common sources: failed oil cooler (most common on 6.0L Powerstrokes and older CAT engines), cracked cylinder head, failed injector cups (especially on older mechanical injection systems), or a leaking engine coolant thermostat housing.