
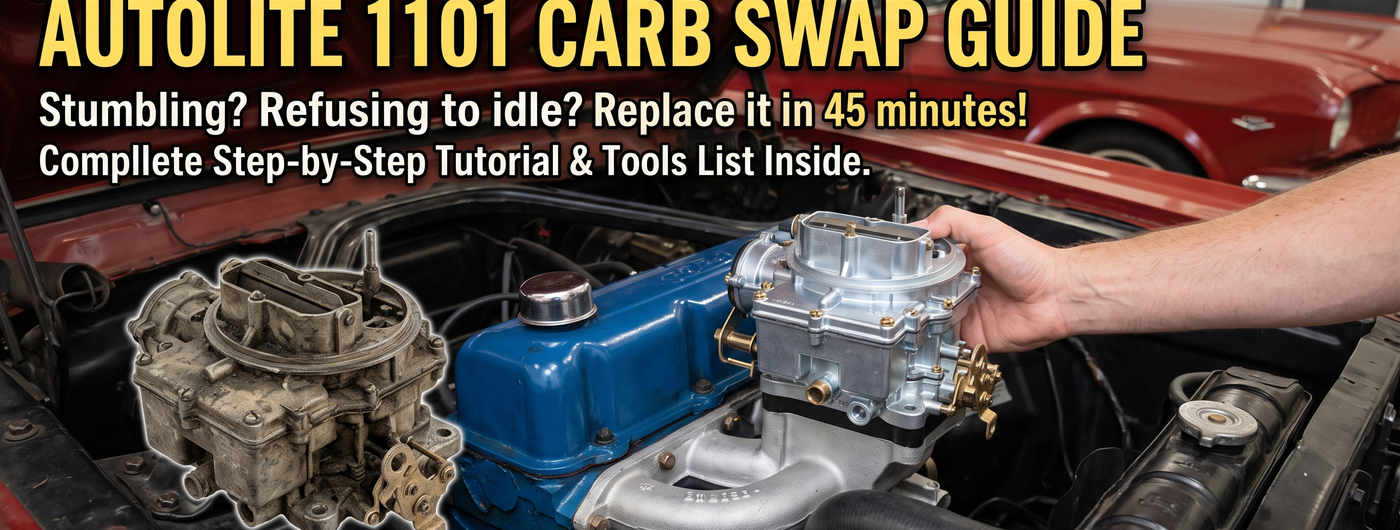
1965-1967 Mustang 200ci Inline-6 Carburetor Replacement Guide
, by iFJF Direct, 9 min reading time
, by iFJF Direct, 9 min reading time

Replace the carburetor on your 1965-1967 Mustang 200ci inline-6 with this step-by-step guide. Tools, torque specs, and pro tips for a leak-free installation in under an hour.
The Autolite 1101 on your 1965–1967 Mustang 200ci inline-6 has probably been there for decades. If it's stumbling, flooding, or refusing to hold an idle, you've got two choices: rebuild it or replace it. A rebuild kit costs $30–$60 and takes hours. A complete new carburetor costs $150–$200 and takes 45 minutes. For most owners, the math favors replacement.
This guide walks you through the entire swap — from the tools you'll need to the first test drive. No special skills required beyond basic wrench-turning. Let's get started.
| Item | Notes |
|---|---|
| 1/2" wrench or socket | Carburetor mounting nuts |
| 9/16" wrench | Fuel line fitting at carb inlet |
| Flathead screwdriver | Choke cable clamp, throttle linkage clip |
| Pliers (needle-nose) | Throttle return spring removal/install |
| Razor blade or gasket scraper | Clean old gasket material from intake |
| Carb cleaner spray | Clean intake mounting surface |
| Shop rags | Stuff intake opening during cleaning |
| Replacement carburetor | Autolite 1100/1101 complete unit with gasket |
| Inline fuel filter | Replace during the swap — cheap insurance |
| Thread sealant (fuel-rated) | For fuel line fitting threads |
Work on a cold engine — hot exhaust manifolds and gasoline vapors are a dangerous combination. Disconnect the negative battery terminal before touching any fuel system components.
Take a photo of the current setup from several angles before you disconnect anything. This will save you 20 minutes of head-scratching when routing the choke cable and throttle linkage during reassembly.
Place a shop rag under the fuel inlet fitting to catch drips. Using a 9/16" wrench, loosen the fuel line fitting at the carburetor inlet. Once loose, finish by hand. Gasoline will drip — keep the rag in place and avoid open flames or sparks in the area.
Safety reminder: Even with the engine cold, there's fuel in the line. Work in a well-ventilated area. A fire extinguisher nearby is never a bad idea when working on fuel systems.
Work in reverse order of disassembly:
While you're here, this is the perfect time to swap in a fresh fuel filter. The filter is in-line between the fuel pump and carburetor — just two hose clamps. Note the flow direction arrow on the new filter before installing (arrow points toward the carburetor).
Your new carburetor should be pre-tuned from the factory. Let the engine warm up fully (choke off), then:
Expect slightly rich operation for the first 50–100 miles as the new gaskets swell and the float needle seats. If it's still running rich after 500 miles, re-check the float level.
1. The old gasket trick: If the old gasket is stuck to the aluminum intake, soak it with carb cleaner for 2 minutes, then use a plastic scraper (not a metal razor blade). Aluminum gouges easily and a scored surface will never seal properly.
2. Stud inspection: While the carb is off, check the intake manifold studs. If the threads are damaged or the studs are loose, replace them now. A stripped stud that spins when you're trying to torque the nut is a nightmare you don't want.
3. PCV system check: The PCV valve on the 200ci I6 threads into the intake manifold near the carburetor. If it's original, replace it ($5 part). A stuck PCV valve pressurizes the crankcase and causes oil leaks, poor idle, and carburetor tuning headaches.
4. Don't skip the fuel filter: The single biggest killer of new carburetors is debris from old fuel lines and tanks. A $5 inline filter between the pump and carb is the cheapest engine insurance you can buy.
| Skill Level | Estimated Time |
|---|---|
| First-timer with basic tools | 1.5–2 hours |
| Comfortable DIY mechanic | 45–60 minutes |
| Experienced (done it before) | 30 minutes |
Add 30 minutes if the old gasket is stubborn, the fuel line fitting is seized, or you need to replace the studs.
Q: Do I need to drain the coolant for this job?
A: No — the Autolite 1101 does not have coolant passages through the carburetor. This is a dry manifold job with no coolant involved.
Q: Should I replace the intake manifold gasket at the same time?
A: Only if it's leaking. The intake manifold on the 200ci I6 rarely needs to come off for a carb swap. Test by spraying carb cleaner at the intake-to-head joint at idle — if RPM doesn't change, your gasket is fine.
Q: My choke cable is frozen — can I still do this job?
A: You can, but you'll need to address the cable eventually. For now, you can wire the choke plate open (fully off) for testing, but you'll have cold-start problems. Replacement choke cables are $15–$25 and are a straightforward install while the carb is off.
Q: Will a new carburetor fix my rough idle?
A: Probably — but not guaranteed. Rough idle on the 200ci I6 can also be caused by: vacuum leaks, worn distributor points, bad plug wires, low compression in one cylinder, or a failing PCV valve. The carburetor is the most likely culprit, but if a new one doesn't solve it, work through the ignition and vacuum systems next.

Complete, pre-tuned replacement carburetor for your classic Mustang. Bolt-on installation with all hardware included. Built to the 1101 venturi spec — correct for all 200ci inline-6 engines from 1963-1967.
Includes mounting gasket, fuel filter, fuel line, and hardware kit. Ships from our US warehouse.
Shop Now →
 Carburetor Rebuild Kit for Edelbrock 1400-1409 & Carter 9000 Series 4-BBL — 809064
$39.99
Carburetor Rebuild Kit for Edelbrock 1400-1409 & Carter 9000 Series 4-BBL — 809064
$39.99
 Carburetor Calibration Tuning Kit for Edelbrock 1400-1411 & Carter AFB — Jets Rods Springs
$35.99
Carburetor Calibration Tuning Kit for Edelbrock 1400-1411 & Carter AFB — Jets Rods Springs
$35.99
 Edelbrock 1406 Performer 600 CFM 4-Barrel Carburetor — Electric Choke, for Chevy/GMC/Ford (Gold)
$419.99
Edelbrock 1406 Performer 600 CFM 4-Barrel Carburetor — Electric Choke, for Chevy/GMC/Ford (Gold)
$419.99
 1404 Performer 500 CFM 4-Barrel Carburetor Manual Choke NO EGR
$419.99
1404 Performer 500 CFM 4-Barrel Carburetor Manual Choke NO EGR
$419.99