
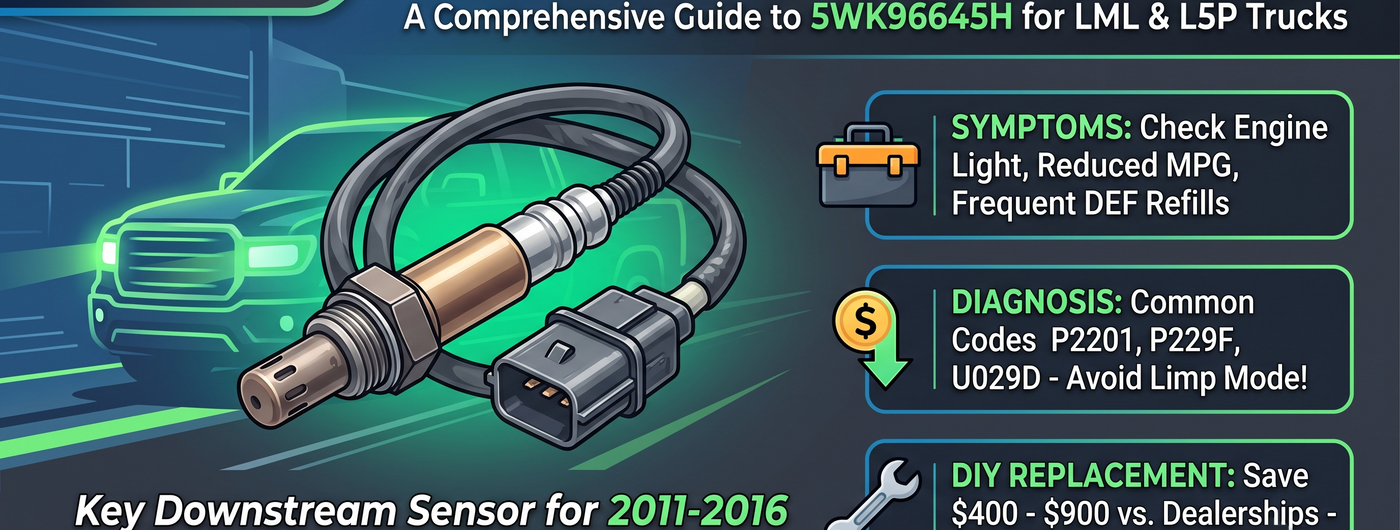
Duramax NOx Sensor 5WK96645H Replacement Guide: Fault Codes, Diagnostics & DIY Install
, by iFJF Direct, 15 min reading time
, by iFJF Direct, 15 min reading time

Complete guide to diagnosing and replacing the downstream NOx sensor (5WK96645H/12669595) on Duramax LML and L5P engines. Covers fault codes, step-by-step install, and OEM vs aftermarket cost comparison.
Every modern Duramax diesel engine — from the LMM (2007–2010) through the L5P (2017–present) — relies on a network of emissions sensors to stay compliant with EPA regulations and run efficiently. At the heart of that network sits the nitrogen oxide (NOx) sensor, a precision component that measures the concentration of NOx gases in your exhaust stream before and after the Selective Catalytic Reduction (SCR) catalyst.
The Continental/VDO 5WK96645H is the downstream NOx sensor used across multiple Duramax platforms, most notably the 2011–2016 LML and 2017–2019 L5P engines. It replaces GM part number 12669595 and is responsible for telling the ECU whether the SCR system is doing its job. When it fails — and they do fail, often without warning — your truck can enter limp mode, derate engine power, or fail a state emissions test. Understanding how this sensor works, what causes it to fail, and how to replace it yourself can save you $400 to $900 versus a dealership repair.
Before buying a replacement, it's critical to verify that you're getting the correct sensor for your truck. The 5WK96645H crosses with several OEM and aftermarket part numbers, and not all listings make the distinction between upstream and downstream sensors clear.
| Part Number | Type | Position | Engine Compatibility |
|---|---|---|---|
| 5WK96645H | Continental/VDO | Downstream (Post-SCR) | LML 2011–2016, L5P 2017–2019 |
| 12669595 | GM / ACDelco | Downstream | LML, L5P |
| 5WK96644J | Continental/VDO | Upstream (Pre-SCR) | LML 2011–2016 |
| 12669594 | GM / ACDelco | Upstream | LML |
| 5WK96746B | Continental/VDO | Downstream | L5P 2020+ |
The 5WK96645H is exclusively a downstream sensor. It mounts after the SCR catalyst and measures NOx levels in the treated exhaust. If you accidentally install an upstream sensor in the downstream position (or vice versa), the ECU will immediately throw a rationality fault because the sensor readings won't match expected post-SCR values. Always double-check your VIN against the part number before ordering.
Note: L5P trucks built after mid-2019 may use the updated 5WK96746B downstream sensor. Always confirm by checking the part number stamped on your existing sensor or by running your VIN through a GM parts catalog.
NOx sensor failure rarely announces itself dramatically. Instead, it follows a predictable pattern of escalating symptoms. Catching it early can prevent a limp-mode event at highway speed — which, for anyone towing a fifth-wheel through the Rockies at 10,000 pounds, is the difference between an inconvenience and a genuine safety hazard.
When the sensor degrades past the ECU's tolerance threshold, it sets a hard code. The most common codes associated with a failed 5WK96645H downstream NOx sensor are:
| DTC | Definition | Likely Cause |
|---|---|---|
| P2201 | NOx Sensor Circuit Range/Performance (Bank 1, Sensor 1) | Sensor heater failure or internal short |
| P229F | NOx Sensor Circuit Range/Performance (Bank 1, Sensor 2) | Downstream sensor reading out of expected range |
| P20EE | SCR NOx Catalyst Efficiency Below Threshold | Sensor reporting insufficient NOx reduction; may be sensor or actual catalyst issue |
| P249D | Reductant Injection Air Pressure Sensor Circuit Low | Often triggered alongside NOx codes; check DEF injector and sensor wiring |
| P249E | Reductant Injection Air Pressure Sensor Circuit High | Same as above — intermittent wiring issue common on LML |
| U029D | Lost Communication with NOx Sensor | Open circuit, corroded connector, or failed sensor module |
The most frequently reported combination on LML Duramax trucks is P2201 + P229F appearing together. This almost always points to the downstream NOx sensor rather than a wiring or ECU problem. If you see P20EE alone, however, test the sensor with a scan tool before replacing it — that code can also indicate a failing SCR catalyst or clogged DEF injector.
If ignored long enough, a failed NOx sensor will trigger a 55-MPH speed limiter or full derate. GM's emissions strategy is aggressive: once the ECU loses confidence in its ability to monitor tailpipe emissions, it defaults to a protective mode that limits engine output to roughly 30–40% of peak torque. This isn't a "maybe" scenario — it's programmed into the ECU calibration and will happen after a set number of drive cycles with an active NOx-related fault.
Replacing the 5WK96645H is a driveway-level job if you have basic hand tools and a way to safely get under the truck. The downstream sensor is located on the exhaust pipe after the SCR catalyst, roughly under the passenger-side floorboard area. Here's the complete procedure:
NOx sensors don't fail because they're poorly made — they fail because they operate in an environment that's actively trying to destroy them. Understanding the failure modes helps you avoid repeating the same mistake.
Not all 5WK96645H replacements are created equal. Here's how the market breaks down:
| Source | Part Number | Typical Price | Warranty | Notes |
|---|---|---|---|---|
| GM Dealership | 12669595 | $350–550 | 12 months / 12K miles | Genuine ACDelco, same as VDO |
| ACDelco (Retail) | 12669595 | $220–320 | 12 months | Same OEM part, without dealership markup |
| Continental/VDO | 5WK96645H | $150–220 | 12 months | OEM supplier — best value for same quality |
| Aftermarket (e.g., iFJF Direct) | 5WK96645H | $100–180 | Varies | Budget-friendly; verify seller reputation |
| No-Name / eBay Special | Various | $40–90 | None / 30 days | High failure rate out of box; avoid for emissions-critical components |
The price spread is significant: a dealership replacement runs $350–550 for the part alone — plus 1.0–1.5 hours of labor at $140–180/hour, for a total of $500–800. The same job done in your driveway with a quality aftermarket sensor costs $120–180 and 45 minutes of your time. That's a $320–620 savings on one sensor replacement — and most Duramax trucks will need at least one NOx sensor replaced before 150,000 miles.
Owner: Commercial hotshot hauler, 187,000 miles on the original downstream NOx sensor. Truck threw P2201 + P229F at 185K while towing a loaded gooseneck trailer through Colorado. Dealership quote: $547.26 for part #12669595 plus $189 labor (1.3 hrs @ $145/hr) = $736.26 total. Owner purchased a VDO 5WK96645H for $179, spent 40 minutes on the replacement, and cleared codes with a $60 Bluetooth OBD-II adapter. Total cost: $239. No codes in 2,000+ miles since replacement. This is the pattern we see repeated across forums, diesel shops, and owner groups — the math is consistent.
Short-term, yes — but with consequences. The ECU will eventually derate engine power after a set number of drive cycles with an active NOx fault. On LML trucks, this typically happens within 50–100 miles of continuous driving. You won't be stranded on the side of the road, but you may be limited to 55 MPH, which is dangerous on highways — especially when towing. Replace the sensor as soon as practical.
Not unless both are throwing codes. The upstream and downstream sensors are independent components that fail on their own timelines. However, if your truck has over 150,000 miles and one sensor has failed, the other is on borrowed time — consider replacing both proactively if your budget allows.
Most professional-grade scan tools (Snap-On, Autel, Topdon) have a dedicated "NOx Sensor Reset" or "SCR Reset" function. If your tool supports it, run it after installation. If you're using a basic OBD-II reader, simply clearing the codes is usually sufficient — the ECU will relearn sensor offsets automatically over 2–3 drive cycles.
Yes, for early L5P production (2017–2019). The physical sensor is identical. Later L5P trucks (2020+) use the updated 5WK96746B, which has a different connector pinout and is not interchangeable. Always verify by checking your existing sensor's part number.
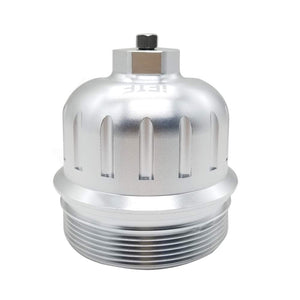 134001 Fuel Filter Housing Cap for 6.6L Duramax L5P 2017-2023 | iFJF
$69.99
134001 Fuel Filter Housing Cap for 6.6L Duramax L5P 2017-2023 | iFJF
$69.99
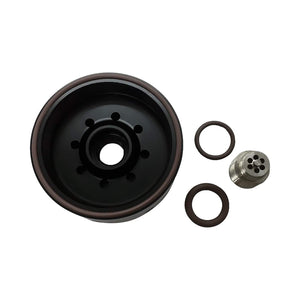 1R-0750 Fuel Filter Aluminum Head for 2001-2016 Duramax 6.6L LB7-LML
$63.99
1R-0750 Fuel Filter Aluminum Head for 2001-2016 Duramax 6.6L LB7-LML
$63.99
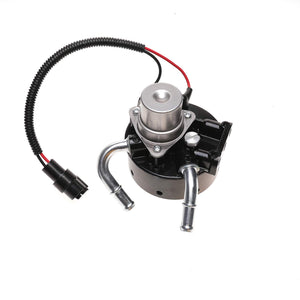 12642623 Fuel Filter Head + 1R-0750 Refit for 2005-2016 Duramax 6.6L
$87.99
12642623 Fuel Filter Head + 1R-0750 Refit for 2005-2016 Duramax 6.6L
$87.99
 68394482AA Water Separator for 2014-2018 Ram 1500 3.0L EcoDiesel
$489.73
68394482AA Water Separator for 2014-2018 Ram 1500 3.0L EcoDiesel
$489.73