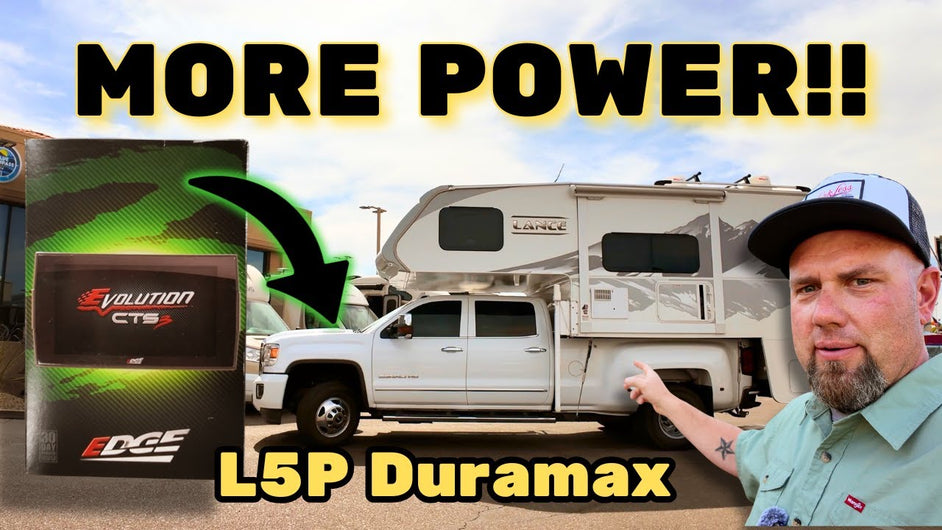


If you own a 2019 GMC Sierra Denali HD powered by the L5P Duramax and you've been thinking about adding a tuner, this guide is for you. This is a real-world, first-hand account of installing the Edge Evolution CTS3 — from unboxing and Wi-Fi setup to OBD2 unlock cable routing and the actual tune installation — with honest first-drive impressions for towing applications.
Why Add a Tuner to the L5P Duramax?
The L5P Duramax 6.6L turbo-diesel is already a beast from the factory, producing 445 hp and 910 lb-ft of torque. But for truck owners who regularly tow heavy loads — whether that's a fifth-wheel camper, a flatbed trailer, or equipment — the stock calibration can feel like it's working harder than it needs to. The factory tune is designed for a wide range of driving conditions, which means it's a compromise.
A programmable tuner like the Edge Evolution CTS3 lets you load a towing-specific calibration that optimizes fuel delivery, turbo response, and transmission shift points specifically for when you're pulling extra weight. The result is smoother power delivery, lower exhaust gas temperatures (EGT) under load, and better fuel economy during long hauls.
But the CTS3 isn't just about power — it's a comprehensive monitoring tool. On the dashboard, you get real-time gauges for EGT, boost pressure, fuel level, engine speed, coolant temperature, soot load, and regen status. If you're towing over mountain passes or in extreme heat, these readings are invaluable for protecting your engine.
What's in the Box — Edge CTS3 Evolution Kit
When Edge Products sent their unit, the kit came complete with everything needed for a professional installation:
- Edge Evolution CTS3 monitor — the 5-inch color touchscreen display
- OBD2 harness cable — plugs into the vehicle's OBD2 port and the back of the CTS3
- OBD2 unlock cable — a required adapter that allows the CTS3 to communicate with the ECM for tuning
- Power locking cable — for cable lock security
- Dash mount — a clean, professional mounting solution that keeps the screen at eye level on the dash
- Jumper fuse — a replacement 15-amp blade fuse for the fuse box modification
- USB-C cable for firmware updates (also done over Wi-Fi)
- Velcro adhesive strips for the dash mount
Step 1: Wi-Fi Setup & Firmware Update
Connect the CTS3 and Check for Updates
Before touching anything under the hood, set the CTS3 up while the truck is parked. Start with the ignition key in the ON position (engine off). Run the included OBD2 cable from the port — located under the dash on the driver's side — up to the area where you'll mount the display.
Once powered on, the CTS3 will guide you through the initial setup. Navigate to Settings → Wi-Fi Setup, enter your email address, and select your home Wi-Fi network. Enter the password and let it connect.
After connecting, go to Settings → Check for Updates. If a firmware update is available, the system will prompt you to download and install it. This step is critical — updated firmware ensures compatibility with the latest L5P calibrations and can fix known bugs. The download takes just a few minutes, after which the device will automatically reboot.
Step 2: Locate & Modify Fuse 57
Engine Bay Fuse Box — Replace Fuse 57
Open the hood and locate the engine bay fuse box — it's on the driver's side, near the battery. Remove the lid by releasing the clips. Inside, find Fuse 57, which is a 15-amp flat-blade fuse.
Pull Fuse 57 out carefully using a fuse puller or a pair of needle-nose pliers. Set your original 15-amp fuse aside in a safe place — you'll need to put it back after tuning is complete.
Insert the supplied jumper fuse (also 15-amp) into the Fuse 57 slot. This jumper provides the unlock signal path that allows the CTS3 to communicate with the ECM during the tuning process.
Step 3: Install the OBD2 Unlock Cable
Route the Unlock Cable Through the Cab
The unlock cable has two connectors: one that plugs into the OBD2 port (under the dash, driver's side) and a second connector that plugs into the included unlock module box. Since this is a temporary step for the tuning process, route the cable through the driver's side window — you don't need to pass it through the firewall.
Connect the unlock cable to the OBD2 port first. Then run the other end to the unlock module. From the unlock module, use the included T-harness: plug one leg into the unlock module and the other leg into the standard OBD2 harness that connects to the CTS3 display.
With the ignition key in the ON position, the CTS3 will detect the unlock cable and begin the calibration process automatically. The screen will display "Applying calibrations to the ECM" — this takes a few minutes. Do not turn the ignition off or disconnect any cables during this process.
Step 4: Flash the Towing Tune
Select and Install Your Calibration
Once the calibration download completes, the CTS3 will prompt you with a choice: "Install the tune as is" or "Customize the tune" by modifying parameters. For a first-time installation with the L5P Duramax under towing load, selecting Install as is — the pre-configured towing calibration — is the recommended starting point.
After selecting install, the system will prompt you through the calibration sequence:
- Turn the ignition OFF and press the screen to continue
- Turn the ignition back to RUN mode (engine off) and press the screen
- Turn the ignition OFF again and press the screen
- Turn the ignition back to RUN mode one final time
- The screen will confirm: "Your vehicle has been successfully tuned"
Throughout this process, you may hear clicking and buzzing noises from modules under the hood — this is completely normal. The truck's various control modules are recalibrating themselves to the new tune parameters.
Step 5: Post-Install — Restore the Fuse
Remove the Jumper Fuse and Reinstall Original Fuse 57
After the tune installation completes and you've confirmed the success message, it's time to restore the vehicle to its normal state. Unplug all the cables you connected during the tuning process. Remove the jumper fuse from Fuse 57 and reinstall your original 15-amp fuse.
Reconnect the standard OBD2 cable (without the unlock cable) directly from the OBD2 port to the CTS3. Start the truck and verify the CTS3 powers on and displays real-time data.
First Drive Impressions — Does It Make a Difference?
After completing the installation, the first real-world test came on an actual highway on-ramp with no merge lane — essentially a straight drop onto the freeway. The stock L5P pulls hard, but the towing tune noticeably sharpened throttle response. The turbo spools faster, and the truck felt more eager to get up to speed without needing to push the accelerator as deep.
EGT readings tell the real story: under hard acceleration, exhaust gas temperatures climbed to over 1,000°F, which is normal for aggressive acceleration but stayed within safe ranges thanks to the tune's monitoring capability. The boost gauge showed significantly higher PSI than what you'd typically see on the stock calibration.
On the return trip, the driver noted that even at part throttle on city streets, the tune felt noticeably different — not aggressive, but more responsive and confident. For a daily-driven tow vehicle, this is exactly what you want: a tune that works harder when you need it, but doesn't feel jerky or unpredictable under normal driving.
"Even if I don't go any faster, this is just nice to have right there. I can just glance over real quick, make sure we're all in the clear." — Larry, truck owner
For diesel truck owners who regularly run mountain passes, haul heavy loads, or drive in extreme temperatures, the CTS3's monitoring capabilities alone justify the install. The ability to watch EGT, soot load percentage, and regen status in real time — without drilling into a dashboard — is a significant safety and maintenance advantage.
Customizing the CTS3 for Towing: What You Can Adjust
Beyond the stock towing tune, the Edge CTS3 offers a surprising level of customization for diesel owners who want to fine-tune their setup. According to Edge's support team, several parameters can be adjusted to match your specific towing profile:
- Exhaust brake on startup: Automatically engage the exhaust brake when you start the truck — ideal if you tow a trailer and rely on engine braking every time you drive.
- Tow/Haul mode persistence: If you're always towing, you can set the system to default to Towing mode on startup so you never forget to switch it on.
- Throttle sensitivity: Adjust how aggressively the pedal responds — useful for smoothing out low-speed maneuvering when you're hitched up.
- Custom PID gauges: The CTS3 lets you configure which gauges are visible on the home screen. For towing, recommended gauges include: EGT (pre-turbo), Boost PSI, Soot Load %, Fuel Level, Coolant Temp, and Engine Speed (RPM).
- Regen monitoring: View regen status and distance since last regeneration cycle. The L5P's diesel particulate filter requires periodic regens, and knowing the DPF status helps you plan your routes and avoid unexpected stationary regens.
Key Specifications — L5P Duramax with Edge CTS3 Towing Tune
| Parameter | Stock Calibration | CTS3 Towing Tune |
|---|---|---|
| Horsepower ( advertised) | 445 hp | ~460–480 hp (claimed with tune) |
| Torque (advertised) | 910 lb-ft | ~980+ lb-ft (claimed with tune) |
| Throttle Response | Factory mapped | Sharper, less pedal travel |
| EGT Under Load | High risk at full throttle | Monitored + optimized for lower peak |
| Transmission Shifts | Stock shift points | Adjusted for towing load |
| Monitor Display | None (no gauge cluster) | 8+ real-time PID gauges |
| Regen Control | Passive only | Monitored, no forced changes |
| DPF Soot Load % | Hidden from driver | Visible in real time |