
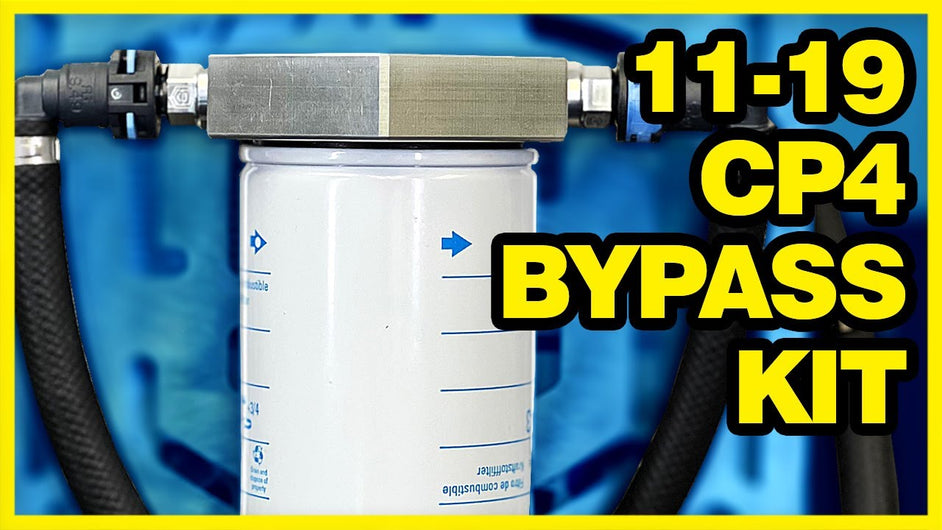
Installing The NEW S&S Diesel CP4 Bypass For A 11-19 Powerstroke | This Could Be A Life Saver! #fyp
, by iFJF Direct, 13 min reading time
, by iFJF Direct, 13 min reading time

Home › News › 6.7 Powerstroke CP4 Bypass Kit Install (2011-2019) 6.7 Powerstroke CP4 Bypass Kit Install (2011-2019) 🛒 Parts Used in This Guide 2017-2025 Ford F-250 F-350 Super Duty 6.7L Powerstroke Fu...
The 6.7L Powerstroke under the hood of your 2011-2019 Ford Super Duty is a strong, capable diesel — but it carries one well-known weak point: the Bosch CP4 high-pressure fuel pump. When a CP4 lets go, it doesn't fail quietly. The pump literally grinds itself apart from the inside, sending a fine spray of metal shrapnel through the entire high-pressure fuel system. Injectors, fuel rails, the fuel cooler, and even the tank pickup all pay the price. An S&S Diesel CP4 Bypass Kit is the single most effective insurance you can bolt on to contain that failure and keep a bad day from becoming a five-figure repair bill.
This guide walks through a complete, hands-on installation of the S&S CP4 Bypass Kit on the early-body 6.7 Powerstroke (2011-2019). We cover the exact tool list, torque specifications, teardown sequence, and the field-tested tips that separate a clean Saturday install from a frustrating one. Whether you are a seasoned diesel tech or a confident driveway mechanic, the steps below will get the job done right.
First, the most important thing to understand: a CP4 bypass kit does not prevent the CP4 from failing. The CP4 is still going to be the CP4. What the kit does is change where the debris goes when (not if) the pump fails.
On a stock 6.7, fuel is drawn from the belly of the CP4 — the exact location where the failure starts — and circulated back through the high side. When the pump grenades, that contaminated fuel carries shrapnel to every downstream component. The S&S kit blocks off that return path at the pump and reroutes it through a dedicated return-side filter. The trap catches the debris before it can reach your injectors or return to the tank. Clean fuel still feeds the CP4 from the tank, and your high-side components stay protected.
S&S Diesel demonstrated this with a brutal but convincing field test: they intentionally wrecked a CP4, left the bypass kit installed, and drove the truck roughly 300 miles (with a trailer) to a major diesel event and back. When they cut the return filter open, it was packed with shrapnel — but the tested injector came back within spec. Without the kit, that same failure typically means injectors, rails, fuel cooler, and a full system flush.
Cost reality: a CP4 failure with the bypass kit installed usually lands in the low thousands for a pump swap. The same failure without the kit commonly runs toward $10,000 once you replace everything the metal touched. For any 6.7 owner, that math makes the kit a no-brainer.
| Item | Notes |
|---|---|
| S&S Diesel CP4 Bypass Kit (2011-2019 6.7 Powerstroke) | Single part number covers all 2011-2019 trucks. The 2020+ kit is different — do not interchange. |
| 8mm socket + universal swivel | Primary fastener size for intake, dipsticks, and EGR crossover. |
| 5/16" socket / driver | Intake clamps and small hose clamps. |
| 10mm socket | Lower intake manifold plenum bolts (two short, one long). |
| T25 Torx bit | Two bolts holding the FCA / M-Prop to the pump. |
| 4mm Allen (hex) bit | Holds the FCA onto the S&S block-off plate. Torque 60 in-lb. |
| 7/16" wrench | Flange nuts for the return-filter base. |
| Inch-pound torque wrench | Critical for 60 in-lb (block-off) and 89 in-lb (upper plenum) specs. |
| Fresh engine oil | Lubricate O-rings before assembly. |
| Rags, towels, catch pans | Plug open manifolds; catch residual fuel and CCV oil. |
Let the truck cool completely. Disconnect both batteries. Relieve cooling system pressure by removing the degas bottle cap, then pinch off the degas line downstream and catch the residual coolant. Work clean — you do not want coolant or debris dropping into an open intake.
Remove the vacuum lines (blue connectors) and unclip them from the degas bottle line. Remove the EGR cooler coolant feed line and tuck it aside. Pull the air intake box: one 8mm bolt to the radiator shroud, a 5/16" clamp at the intake, the mass air flow sensor connector, and four front latches. Work the box out from under the coolant line.
Remove the cold-side elbow using the spring clips (work both ears out of the groove, then pull straight back). The hot-side pipe releases via Ford's lift-and-click clamps — grab one ear and confirm both sides shake, meaning it's released. Pull it from the turbo, loosen the upper clamp, and remove the boot at the air-to-water intercooler.
Disconnect the green CP4 supply clip (push the legs together, lift straight up) and the tank-side fitting (push down on the back to release the hidden clip, then pull back). Remove the fuel filter canister: four bolts plus a stud with a vacuum loom. The fourth bolt hides under the low-pressure lines — use the 8mm swivel to sneak past them.
Remove the two 8mm bolts holding the transmission and engine oil dipsticks to gain access. The upper plenum uses 15 bolts total (four driver side, four passenger/back, seven on top) — leave the plastic keepers on the bolts so they don't drag. Disconnect the MAP sensor, exhaust back-pressure sensor, and CCV wiring. The lower intake uses three 10mm bolts (two short, one long) and boots at the turbo. Keep rags in the open manifolds the entire time they are exposed.
Unhook the temp probe and remove the four 8mm EGR crossover bolts — note the two longer bolts go to the cooler side, and the washered bolts go to the intake side. Now pull the FCA / M-Prop with two T25 Torx bolts. Inspect the FCA face for metal. If you see shrapnel here, the pump has already failed and the entire high side needs replacement — the bypass kit is not a fix at that point.
Clean the included hose assembly and blow it out. Install the blue O-ring (toothed) into its recessed channel on the filter base, then the black O-ring on the nozzle end of the block-off. Lubricate with clean engine oil. Orient the FCA so its electrical connector points away from the hose, then secure with the supplied 4mm Allen bolts torqued to 60 in-lb. Set the assembly aside.
Orient everything toward the driver side. Dab a little assembly lube on the large O-ring so it stays seated, start the forward Allen bolt first (it gets hard to reach once the crossover is in the way), then push straight down and alternate tightening until the FCA head rocks home. Route the line out toward the driver side toward the fuel filter.
On the bench, roll the O-rings onto the return-filter fittings, thread both fittings into the aluminum housing (O-ring fittings — snug, not cranked), press in the two rubber isolator grommets, and secure the bracket with the two 7/16" flange nuts. Mount it using the 4mm Allen bolt at the factory ground-wire location, then reinstall the ground strap. Route the return lines: blue ends always go to the filter, the black female end comes from the engine, and the male S&S-logo fitting returns fuel to the tank.
Reinstall the lower intake with boots on first — watch FCA clearance; if the casting flash touches, smooth it (do not punch through the intake). Torque lower plenum bolts to 18 ft-lb. Reinstall the throttle valve (4x 8mm, with gasket), EGR crossover (longer bolts to cooler), and the upper plenum (all 15 bolts to 89 in-lb in a crisscross pattern). Reconnect dipsticks, fuel filter cup, intercooler pipes, fuel filter, and supply line to the FCA. Finish with the air intake, mass air flow sensor, coolant line, degas bottle, and battery terminals.
Treat startup like a fuel filter change: key on (do not start) to run the pump, repeat three times to purge air, then start. Check for fuel leaks, coolant leaks, and any trouble codes. A correct install should fire clean with no funny noises.
| Tip | Why It Matters |
|---|---|
| Inspect the FCA for metal before you button anything up. | Metal on the FCA means the pump already failed. The bypass kit contains future failures — it does not undo one that already happened. Catching it early saves a wasted teardown. |
| Keep a rag stuffed in every open manifold and port. | A dropped 10mm or a stray o-ring in the intake means pulling the whole thing back apart. Cheap insurance against an expensive mistake. |
| Leave the plastic bolt keepers on the intake bolts. | They hold the bolt high enough that it won't drag on the plenum as you withdraw or reinstall it — prevents cross-threading and stripped holes. |
| Only smooth the casting flash for FCA clearance — never punch through. | The lower intake may lightly contact the FCA on some trucks. Material removal should be minimal and localized, exactly where S&S's directions call it out. |
| Prime with three key-on pump cycles before cranking. | Purges air from the low side so you don't dry-start the CP4 or set a false low-pressure code. |
| Brand / Product | Application | Why |
|---|---|---|
| S&S Diesel CP4 Bypass Kit (2011-2019) | 6.7 Powerstroke, early body | Primary kit in this guide; blocks and filters CP4 return flow. |
| S&S Diesel CP4 Bypass Kit (2020+) | 6.7 Powerstroke, late body | Different part number and routing — confirm your model year before ordering. |
| Replacement CP4 Pump | 6.7 Powerstroke | The component the kit protects you from having to replace alongside everything else. |
| EGR Delete / Up-Pipe Kit | 6.7 Powerstroke | Common complementary upgrade; the install already has the EGR crossover removed, making it a natural pairing. |
| Lift Pump / Fuel Air Separation | 6.7 Powerstroke | Clean, consistent feed pressure extends CP4 life and pairs well with the bypass kit. |
It blocks the contaminated return fuel from the belly of the CP4 pump and reroutes it through a dedicated filter. That trap catches the metal debris a failing CP4 generates before it can reach your injectors, rails, fuel cooler, or tank.
No. The CP4 remains the same pump with the same failure mode. The kit's job is containment — turning a catastrophic, system-wide failure into a contained pump swap that protects your high-side components.
Without the kit, a CP4 failure typically means replacing injectors, fuel rails, the fuel cooler, and flushing the tank — commonly approaching $10,000. With the kit installed, you are usually looking at a pump replacement in the low thousands.
If you are comfortable removing an intake manifold, intercooler piping, and fuel components, yes. The job is labor-intensive but straightforward, with the key torque specs being 60 in-lb on the block-off, 18 ft-lb on the lower intake, and 89 in-lb on the upper plenum.
4mm Allen block-off bolts at 60 in-lb, lower intake plenum bolts at 18 ft-lb, and all 15 upper plenum bolts at 89 in-lb in a crisscross pattern. An inch-pound torque wrench is essential for the 60 and 89 in-lb values.
If you own a 6.7 Powerstroke, the CP4 bypass kit is one of the highest-value modifications you can make. It does not change how the truck drives — it changes what happens on the worst day possible. Paired with a lift pump and good fuel filtration, it turns the CP4's biggest liability into a manageable, contained repair. Bolt it on before you need it, not after.
Since you're already working on your truck, these maintenance items take minutes to swap while everything's apart:


