
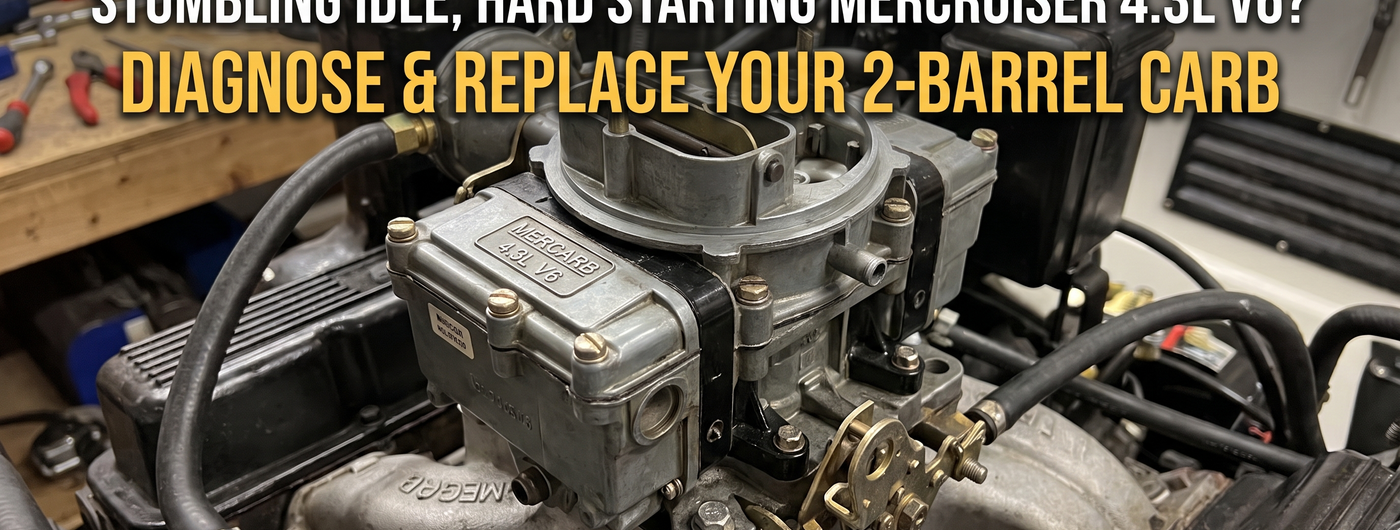
Mercruiser 4.3L Carburetor Replacement Guide: 807764A1 Install and Tune
, by iFJF Direct, 7 min reading time
, by iFJF Direct, 7 min reading time

The Mercruiser 4.3L V6 is a workhorse. Simple, reliable, easy to work on. But the Mercarb 2-barrel is the weak link. After 10-15 seasons of ethanol fuel, salt air, and winter layups, these carbs develop problems no amount of adjustment fixes.
Here's what a dying Mercarb sounds like at the dock:
A rebuild kit and an afternoon might fix it. But if the throttle shaft bores are worn (vacuum leak you can't tune out), the float has sunk, or the casting is corroded from salt spray, you're rebuilding a carb that'll never run right. The 807764A1 is a direct bolt-on replacement — new casting, factory-calibrated, no core charge, no waiting 3 weeks for a rebuild.
Negative cable off first. Close the fuel shutoff at the tank. If no shutoff, pinch the fuel line with line-lock pliers — don't use vise grips, they cut the hose internally. Wrap a rag around the fuel inlet and crack it loose slowly to relieve pressure.
One wing nut on top. Remove arrestor. Disconnect throttle cable from the bell crank — small cotter pin or E-clip, don't lose it in the bilge. Disconnect shift interrupt switch wire if equipped (single spade connector near throttle arm).
Take a phone photo before touching vacuum lines. Mercruiser 4.3L carbs have 2-3 vacuum ports — PCV to valve cover, distributor advance, sometimes ported vacuum for accessories. Label each with masking tape. Swapping vacuum lines is the #1 reason a "new carb" runs worse than the old one.
Four nuts — two front, two back. Back ones are tight against the intake runner; a 1/2" wobble socket helps. Lift carb straight up. Scrape intake flange with a plastic scraper — never metal on aluminum. Vacuum any debris that fell in. A stray piece of gasket in cylinder #3 ruins your whole day.
New gasket on the intake flange — directional, cutouts must match throttle bores. Drop the 3310-807764A1 Marine Carburetor onto the studs. Finger-tighten all four, then torque crisscross: 12-15 ft-lbs (144-180 in-lbs). Over-tightening warps the base and creates a vacuum leak that mimics a bad carb.
Fuel line first — hand-thread the brass fitting, then 1/4 turn with a wrench. Brass strips easy. Reconnect vacuum lines from your photo. Throttle cable. Shift interrupt wire.
The 807764A1 choke needs 12V key-on power. Do NOT wire to constant 12V — choke stays open, cold starts are miserable. Tap the ignition coil positive or the purple "IGN" wire at the engine harness. Choke element pulls under 1 amp — no relay needed. Ring terminal, heat-shrink, zip-tie away from the exhaust manifold.
Open the fuel shutoff. Key to RUN (not start) for 5 seconds — lets the pump fill the bowl. Pump throttle twice to set choke and prime the accelerator pump. Crank — should catch in 3-5 seconds. If not, check the kill switch lanyard. It's always the lanyard.
Warm the engine to 160°F on the hose or at the dock. Choke plate should be fully vertical — if it's partially closed, loosen the 3 choke housing screws and rotate slightly.
Idle speed: Target 650-700 RPM in gear, in the water. Set with the idle speed screw on the throttle linkage.
Idle mixture: Two screws at the carb base. Turn both clockwise until lightly seated, then back out 1-1/2 turns for baseline. Engine warm, in gear: turn each screw in slowly until RPM drops, then back out 1/4 turn. Repeat other side. Re-check idle speed. Final: 650-700 RPM in gear, no stumble when you stab the throttle.
Stumble or backfire through the carb when you hammer it? Richen 1/8 turn each side. Black smoke from exhaust at idle? Lean 1/8 turn.
Yes. The base gasket is included. Have a spare on hand — tear one during install and you're dead in the water.
Factory flow-tested and calibrated for sea-level operation. Idle mixture screws are set to a baseline 1-1/2 turns out. Minor adjustment for your specific engine and altitude is normal — see the tuning section above.
12V key-on source — ignition coil positive terminal or the purple ignition wire in the engine harness. Not constant 12V, not coil negative. Heat-shrink connectors — it's a marine environment.
Yes. Direct bolt-on for 1990-2015 Mercruiser 4.3L (262ci) sterndrives with the 2-barrel Mercarb intake. Compatible with Thunderbolt IV, V, and EST ignition. Bolt pattern: 3-3/4" x 2".
Three likely causes: idle speed too low (needs 650-700 RPM in gear, not neutral), idle mixture too lean (back out 1/8 turn each side), or shift interrupt switch sticking (disconnect and test). Tune in the water, in gear — never on the trailer.
 Carburetor Rebuild Kit for Edelbrock 1400-1409 & Carter 9000 Series 4-BBL — 809064
$39.99
Carburetor Rebuild Kit for Edelbrock 1400-1409 & Carter 9000 Series 4-BBL — 809064
$39.99
 Carburetor Calibration Tuning Kit for Edelbrock 1400-1411 & Carter AFB — Jets Rods Springs
$35.99
Carburetor Calibration Tuning Kit for Edelbrock 1400-1411 & Carter AFB — Jets Rods Springs
$35.99
 3106996022 RV AC Control Relay Board for 579/590/595/600 Series
$49.99
3106996022 RV AC Control Relay Board for 579/590/595/600 Series
$49.99
 Edelbrock 1406 Performer 600 CFM 4-Barrel Carburetor — Electric Choke, for Chevy/GMC/Ford (Gold)
$419.99
Edelbrock 1406 Performer 600 CFM 4-Barrel Carburetor — Electric Choke, for Chevy/GMC/Ford (Gold)
$419.99