Description
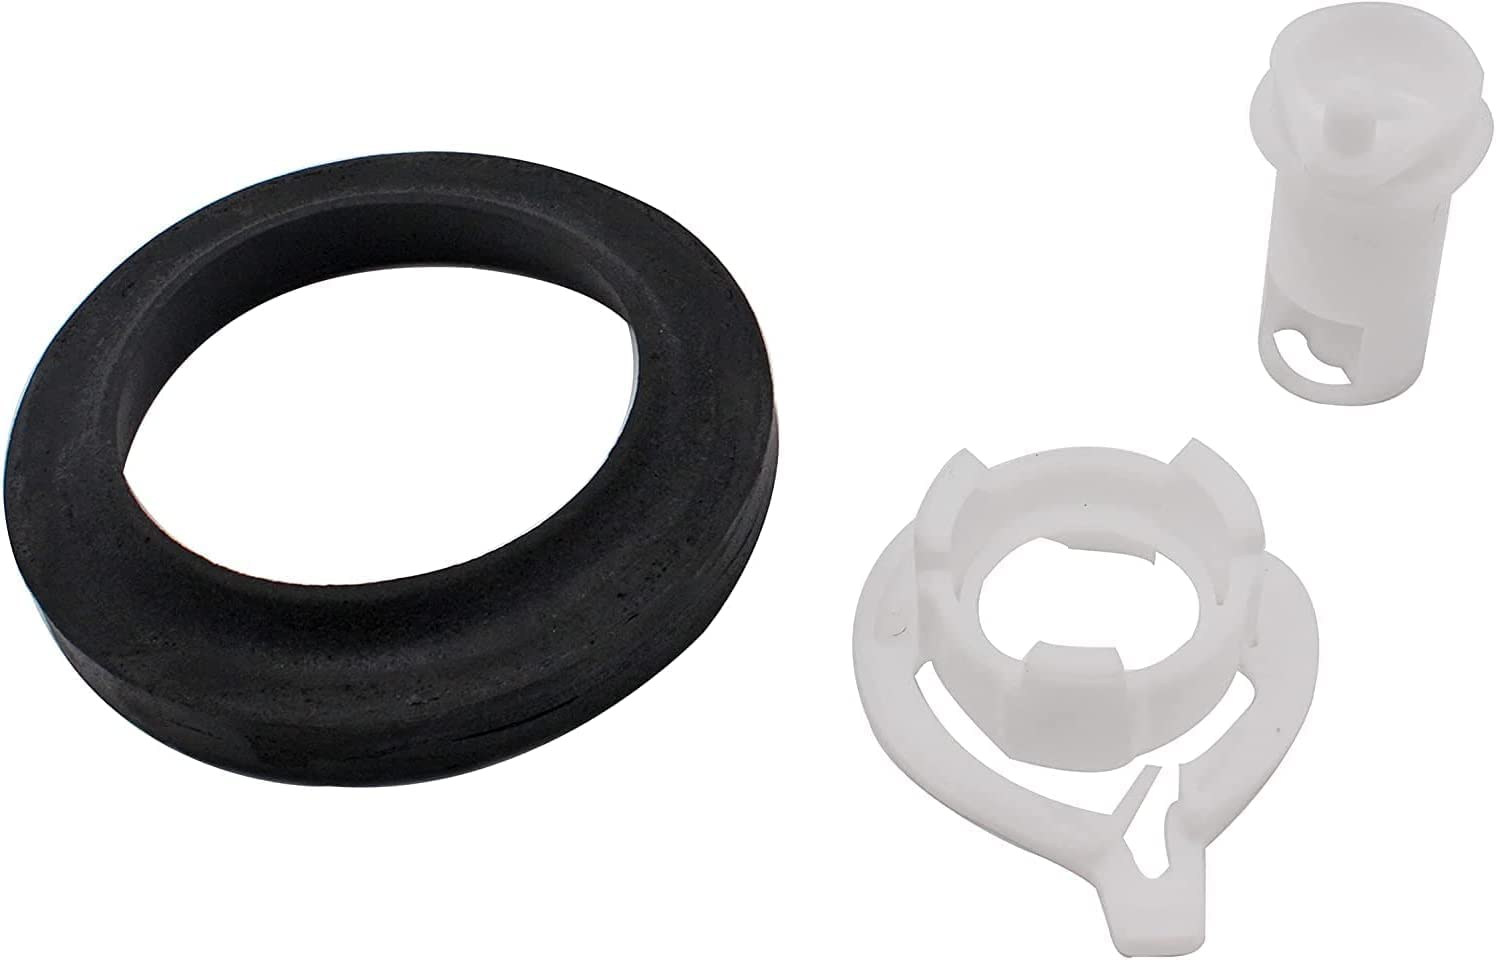
42049 Water Valve Style II Kit — Complete RV Toilet Repair Assembly
The 42049 Water Valve Style II Kit is a direct-fit replacement water valve assembly for RV and marine toilets. When your toilet won't stop running, has weak flushes, or leaks at the valve body, this complete kit restores proper water flow and shut-off function. A cost-effective alternative to replacing the entire toilet assembly — installs in 30-60 minutes with basic hand tools.
Key Features
-
Exact OEM-Spec Fit: Precision-engineered to match factory mounting points, water line connections, and valve operation for listed RV toilet models.
-
Leak-Free Performance: Precision-machined valve seat and high-quality seal materials prevent the trickle and water waste common with worn factory valves.
-
Chemical-Resistant Construction: Materials selected to withstand RV antifreeze, holding tank chemicals, hard water minerals, and freeze-thaw cycling.
-
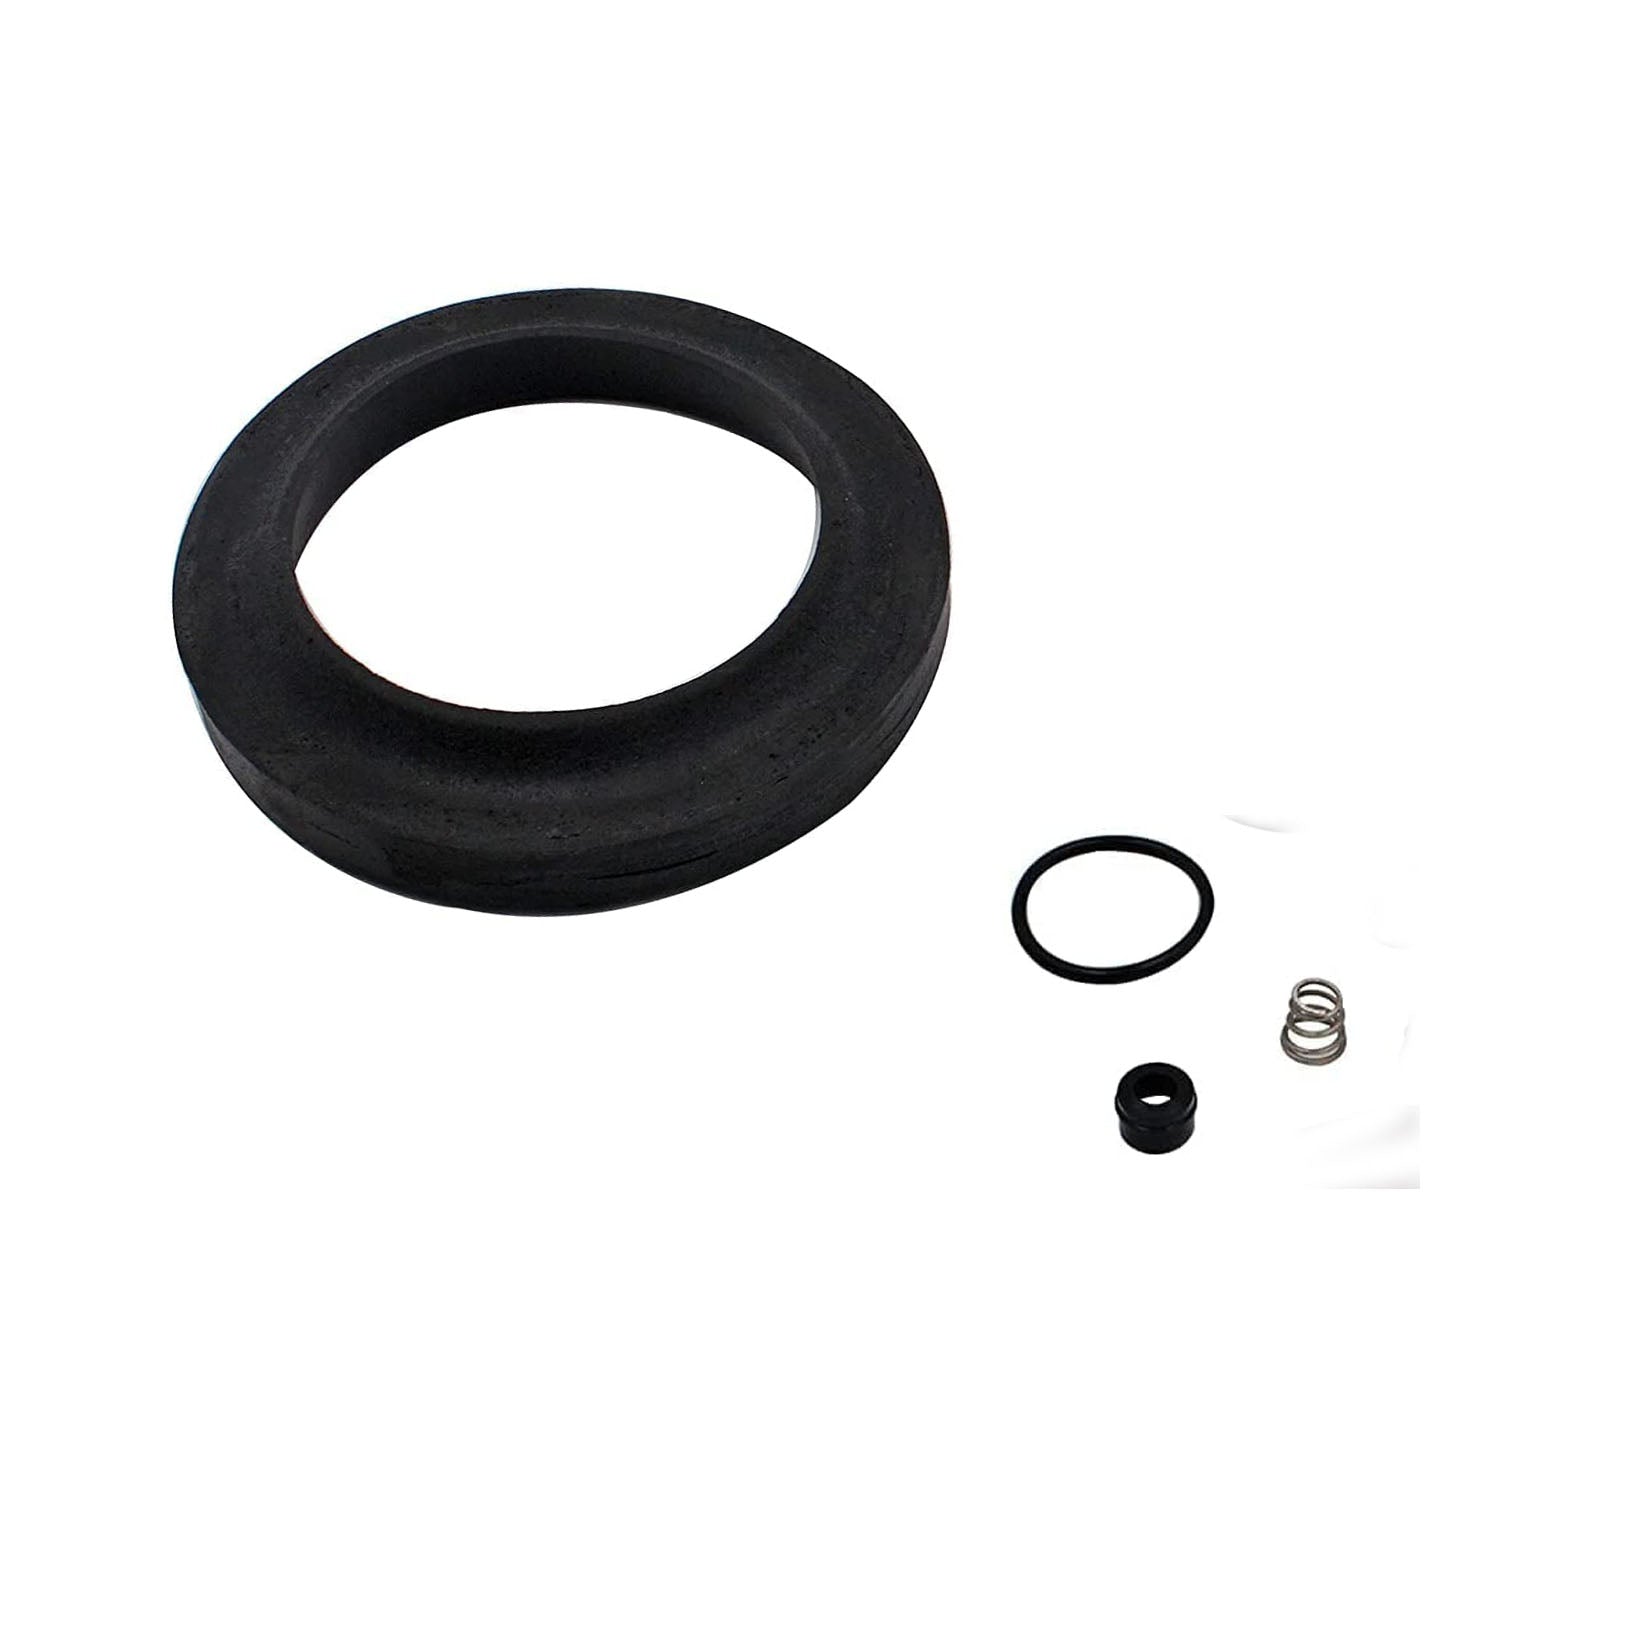
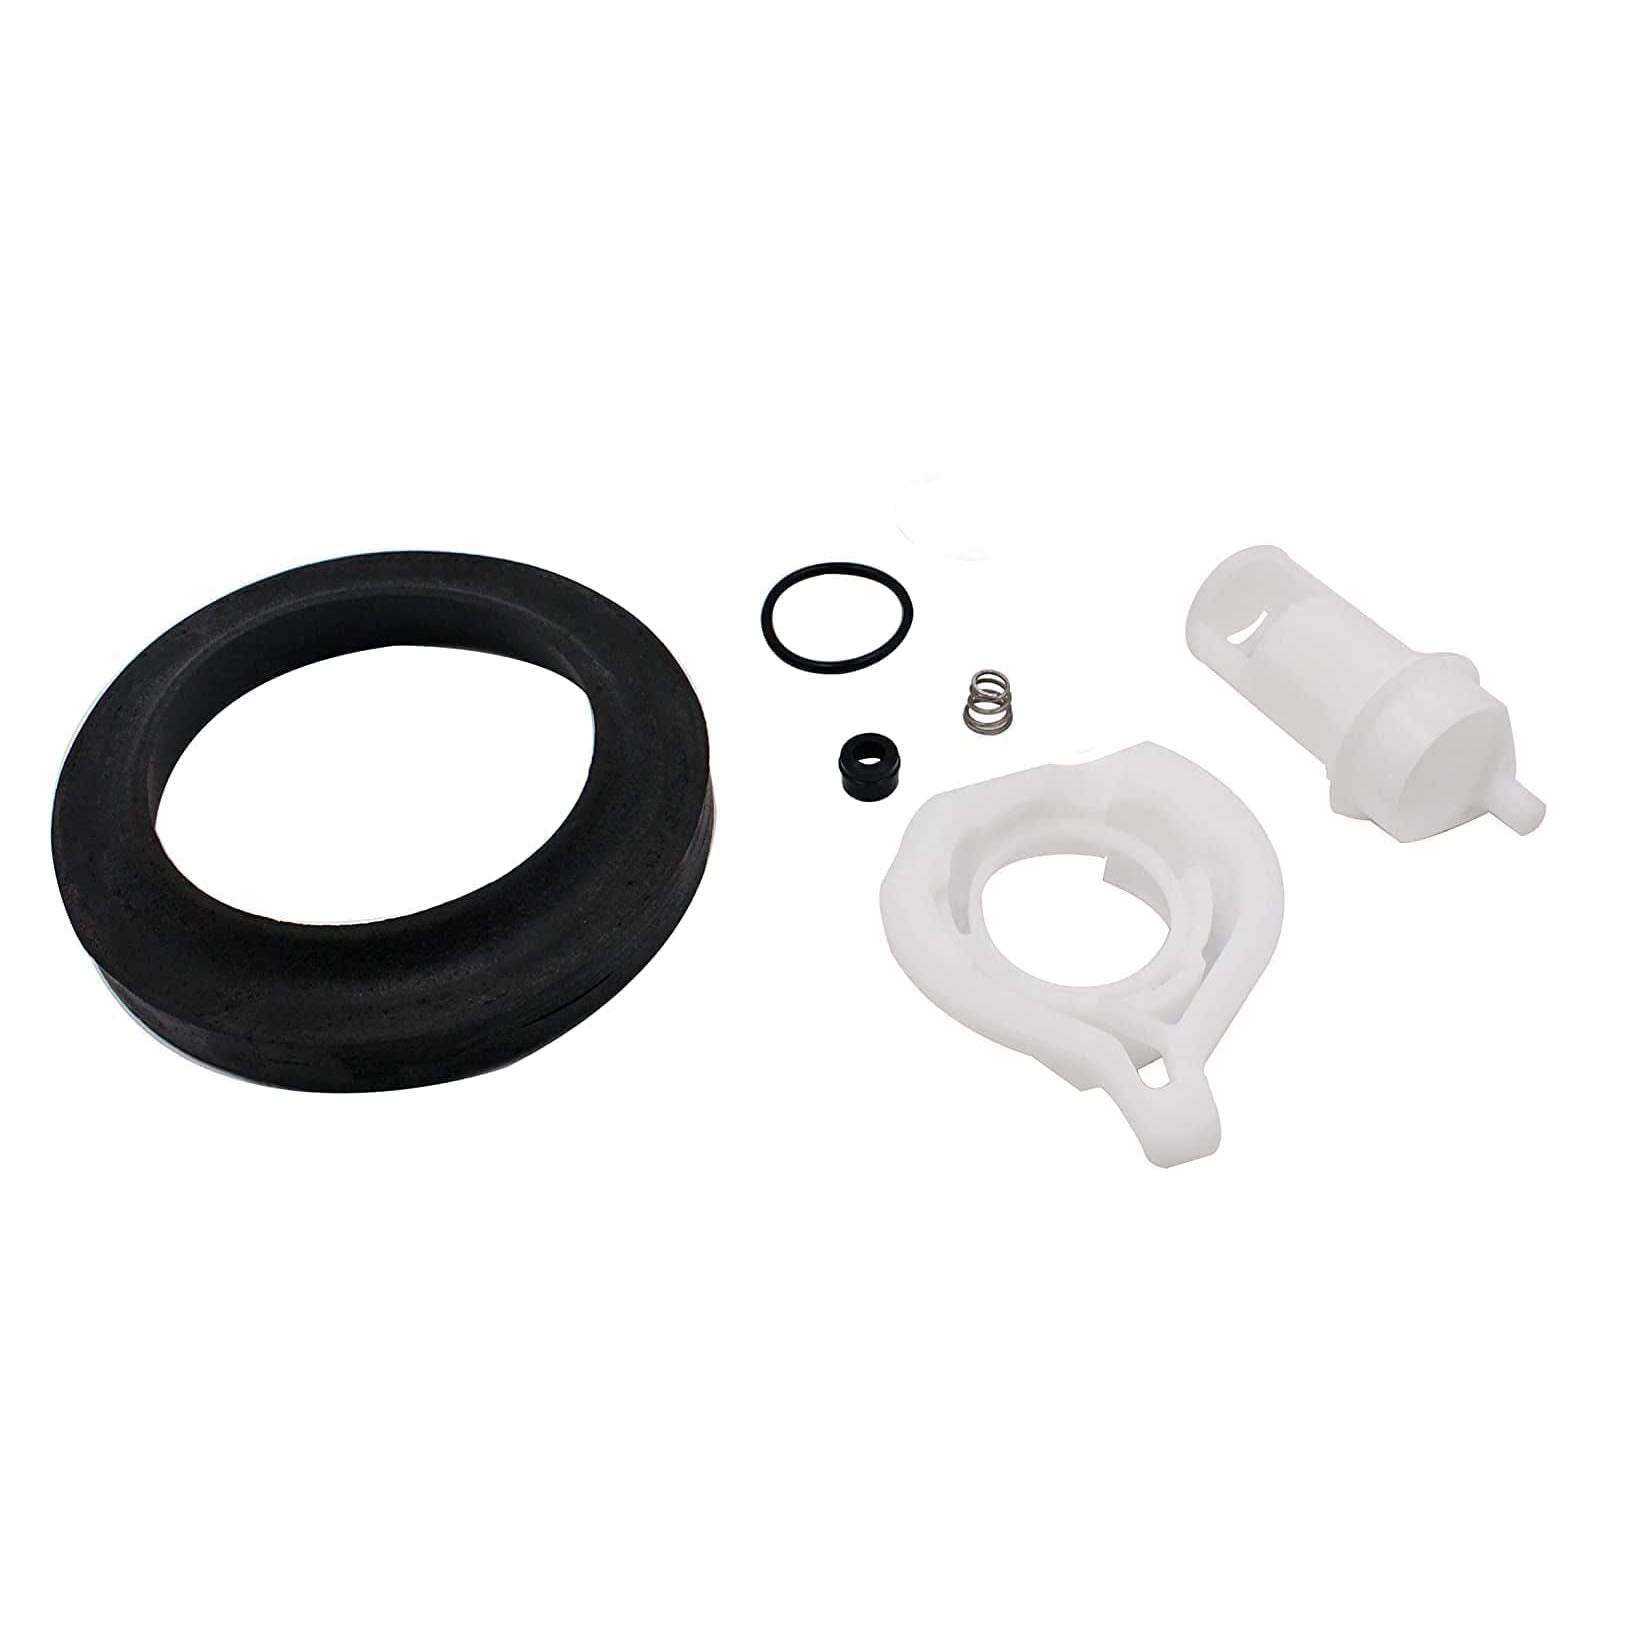
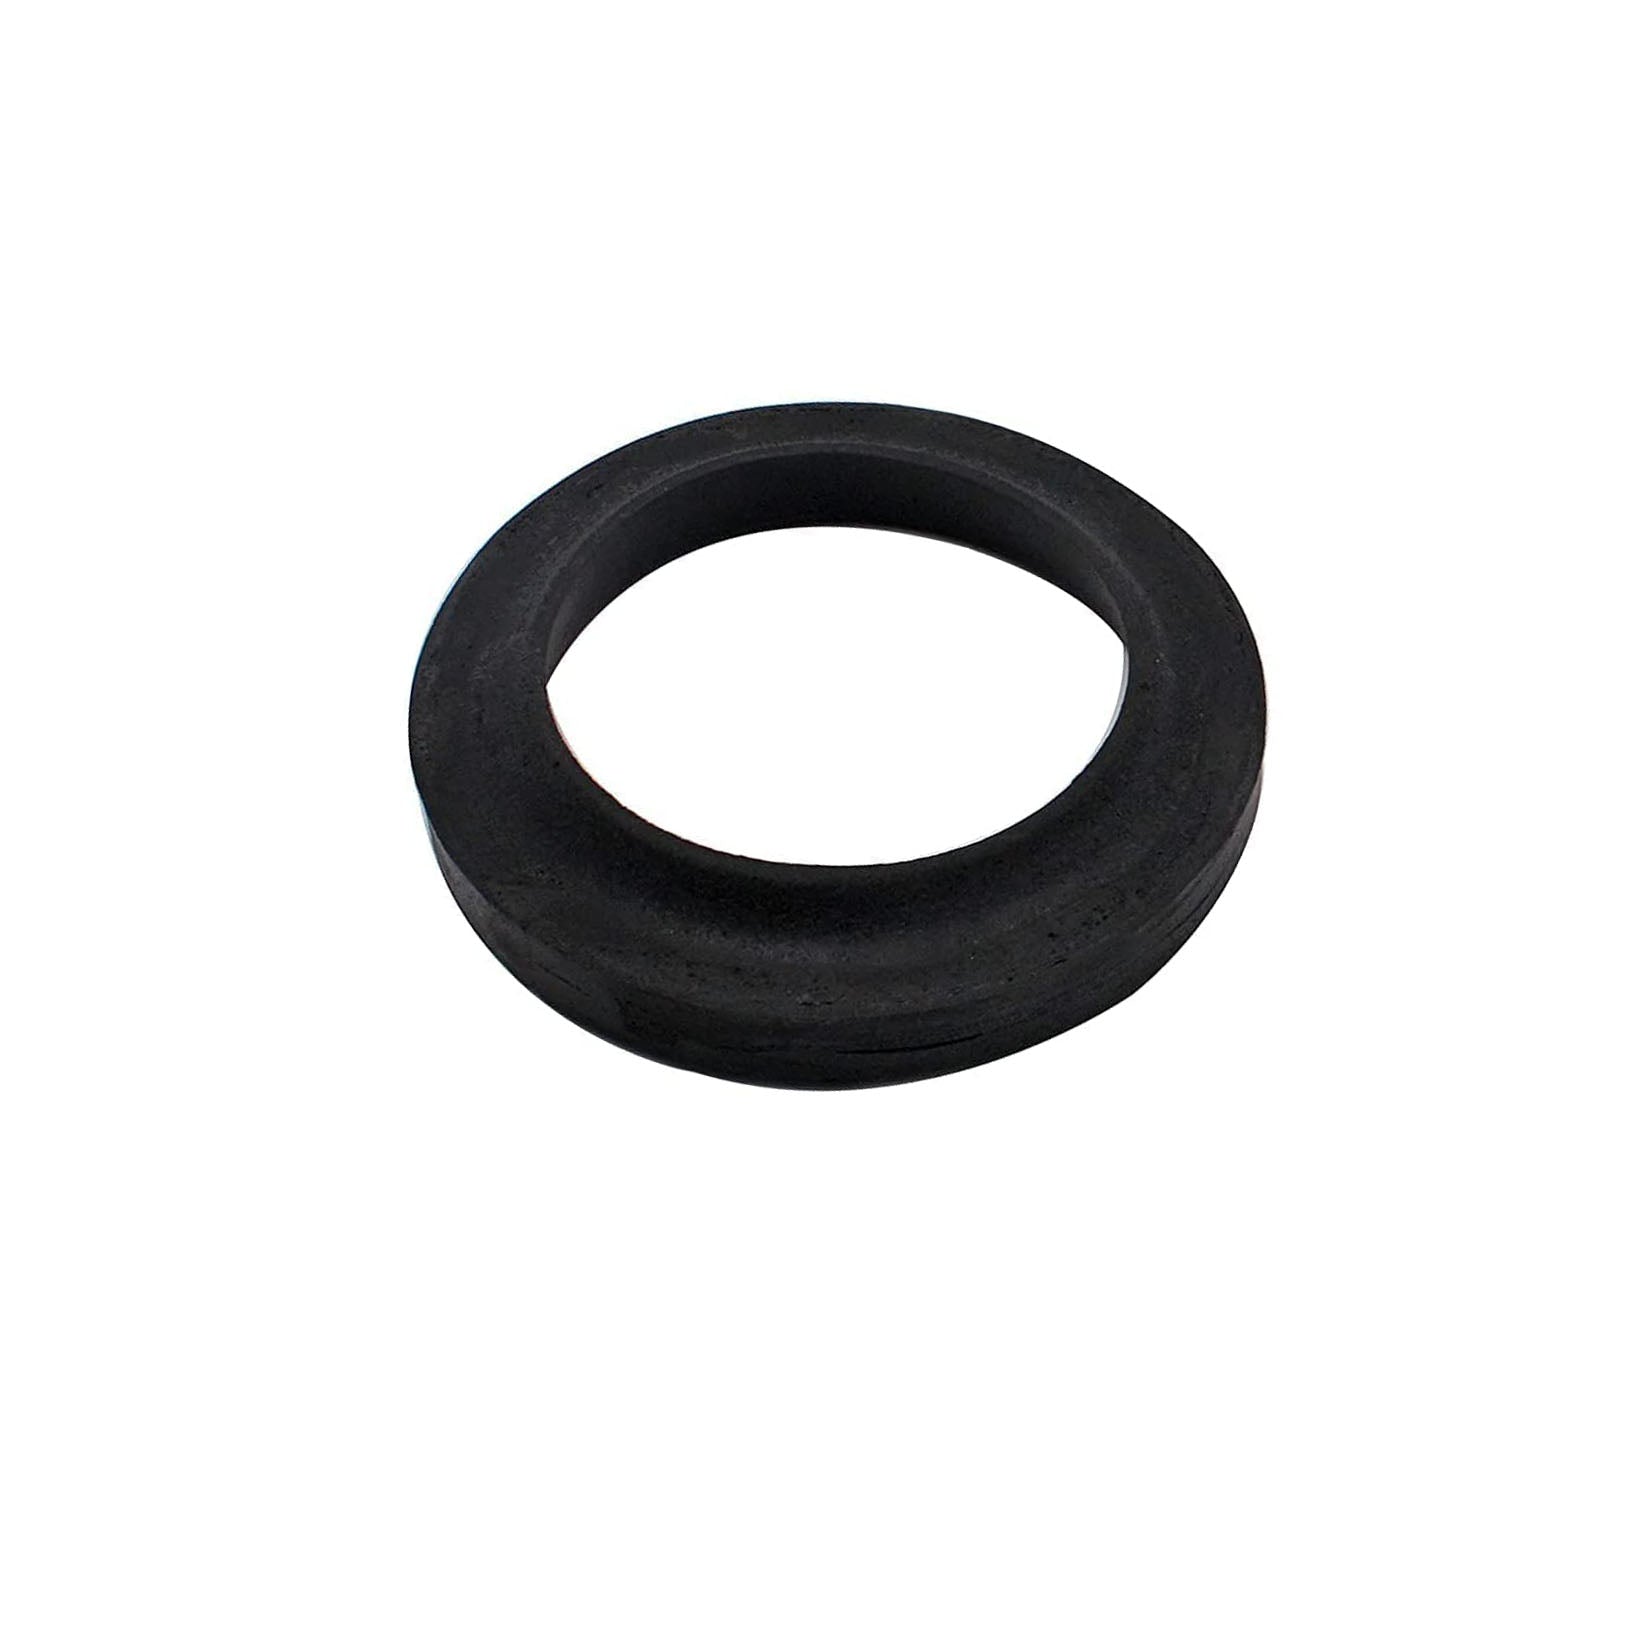
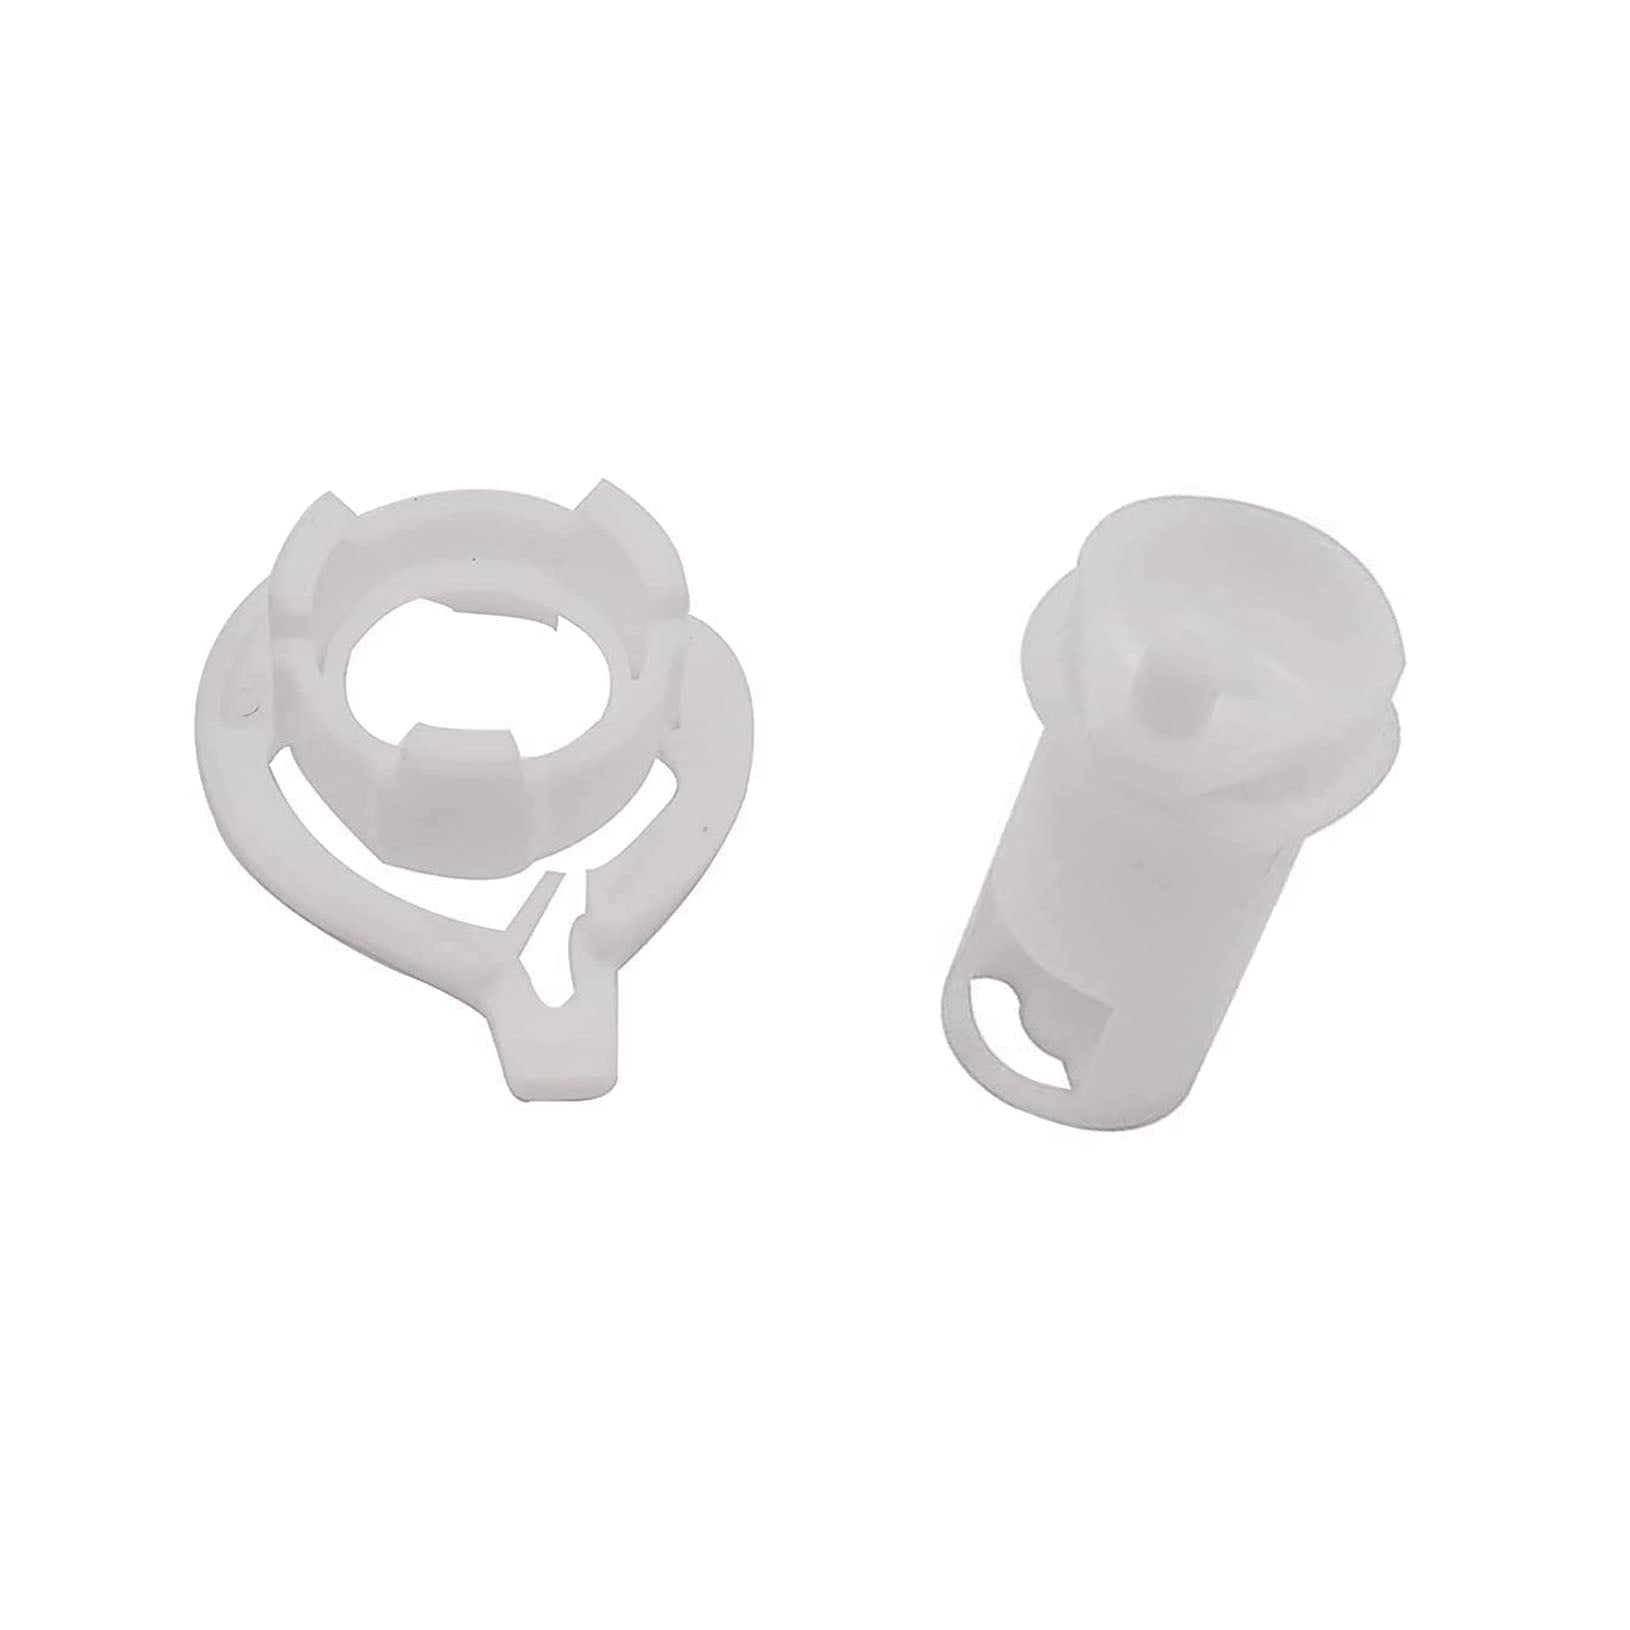
Complete Kit: Includes valve assembly, all gaskets and seals, mounting hardware, and installation instructions — everything needed for a one-and-done repair.
-
DIY-Friendly: Straightforward replacement procedure with common hand tools — no RV service center appointment or specialized plumbing knowledge required.
Compatibility
| Toilet Type |
Compatibility |
| 42049 Water Valve Style II Kit Replacement for RV Toilets |
Direct Fit |
| Various RV/Marine Toilet Models with Style II Valve Configuration |
Verify Mounting Pattern |
Specifications
| Spec |
Value |
| Part Number |
42049 |
| Valve Type |
Water Inlet Valve — Style II |
| Kit Contents |
Valve Assembly, Gaskets, Seals, Hardware |
| Installation Time |
30-60 Minutes (DIY) |
Symptoms of a Failing Water Valve
- Water continuously trickling into toilet bowl when not in use
- Bowl won't hold water — drains shortly after filling
- Weak or no water flow when pedal/lever is activated
- Water leaking from valve body or connections
- Unusual hissing, vibrating, or hammering noises during flush
- Inconsistent flush water volume — sometimes too much, sometimes too little
Installation Guide
- Turn off RV water pump and disconnect from city water connection.
- Flush toilet several times to relieve residual water line pressure.
- Disconnect water supply line from valve inlet fitting.
- Remove old valve assembly according to your toilet model's procedure (typically mounting screws or retaining clips).
- Clean mounting surface thoroughly. Inspect surrounding area for water damage.
- Install new 42049 valve assembly. Ensure gaskets are properly seated in their grooves.
- Reconnect water supply line. Hand-tighten, then add 1/4 turn with wrench — do NOT overtighten.
- Turn water back on. Cycle flush several times to purge air from the line.
- Inspect all connections for leaks. Tighten slightly if needed.
Preventive Maintenance Tips
- Use a water pressure regulator (40-60 PSI) on all city water connections.
- Install an inline water filter to reduce mineral buildup in the valve.
- Always winterize properly — antifreeze must reach the toilet valve.
- Inspect valve for slow leaks during spring de-winterization.
Frequently Asked Questions
Q: Will this fit my RV toilet?
A: This is a Style II water valve kit designed for specific RV toilet models. Check the model number on the label inside the toilet base or on the back of the toilet. If your toilet uses a Style II valve configuration and the 42049 part number matches, it's a direct fit.
Q: What are the symptoms of a bad water valve?
A: The most common signs are water trickling into the bowl continuously (won't stop running), bowl losing water after filling, weak or no water flow during flush, visible leaks from the valve body or connections, and unusual noises during operation.
Q: Do I need to winterize again after replacing the valve?
A: Yes. Any time you open the RV water system, you must ensure proper winterization before freezing temperatures return. Run RV antifreeze through the system to protect the new valve and all plumbing.
Q: Can I do this myself or do I need a professional?
A: Most DIY RV owners can complete this replacement in 30-60 minutes with basic hand tools (screwdriver, adjustable wrench). No specialized plumbing or electrical knowledge is required.
Q: Will this work with both city water and onboard pump?
A: Yes. The valve is designed for standard RV water system pressure (40-60 PSI). Always use a pressure regulator on city water connections to protect your entire plumbing system.
Q: What causes RV toilet water valves to fail?
A: The main culprits are mineral scale buildup jamming the internal mechanism, chemical degradation of rubber seals from holding tank treatments, freeze damage in improperly winterized systems, and normal mechanical wear after years of use. Using a water filter and pressure regulator significantly extends valve life.
Related Products