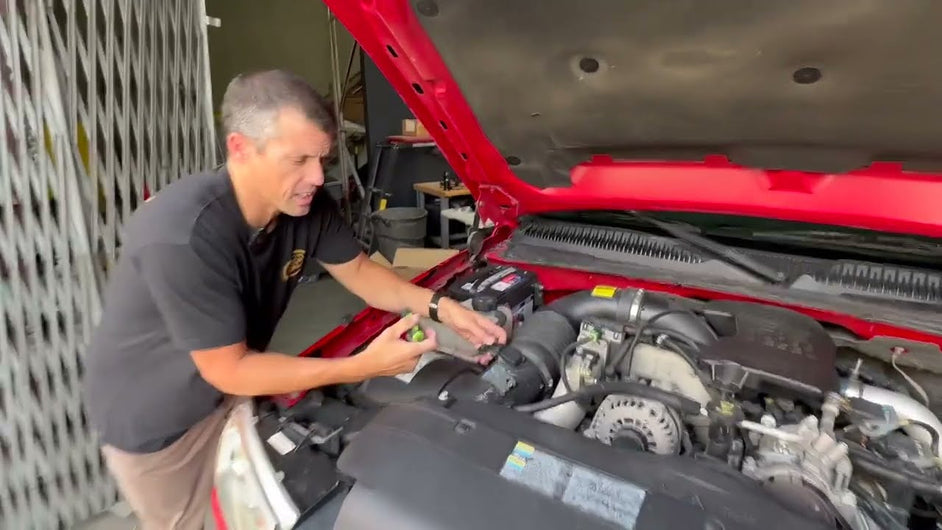
2006-2007 LBZ Duramax Cold Air Intake Install Guide
, by iFJF Direct, 9 min reading time
, by iFJF Direct, 9 min reading time

Upgrading the cold air intake on your 2006–2007 Chevrolet or GMC Duramax 6.6L (LLY/LBZ) is one of the most rewarding bolt-on jobs you can do in the driveway. A high-flow intake feeds cooler, den...
Upgrading the cold air intake on your 2006–2007 Chevrolet or GMC Duramax 6.6L (LLY/LBZ) is one of the most rewarding bolt-on jobs you can do in the driveway. A high-flow intake feeds cooler, denser air to the turbo, cleans up the under-hood clutter, and makes filter service far easier than fighting the restrictive factory airbox. This walkthrough adapts a real shop-floor install video into a step-by-step guide you can follow with basic hand tools — no tune required.
In this guide you'll learn exactly how to remove the OE airbox, transfer your MAF and intake-air-temperature (IAT) sensors to the new intake tube, bolt the new airbox to the factory crossmember, and seal everything to the turbo inlet. We also cover the small details the factory manual skips: which screws to reuse, why the filter-minder restriction gauge often lies on a high-flow intake, and how to position your clamps so the next filter change takes five minutes instead of twenty.
Before you pull the first clip, lay out your tools and the supplied hardware. Most of this comes in the intake kit; the rest is standard mechanic's-drawer stuff.
| Item | Notes |
|---|---|
| 5/16" or 8 mm wrench / socket | Used at the mouthpiece connection to free the factory intake tube. |
| T15 Torx bit | Removes the IAT (intake air temperature) sensor from the OE tube. |
| 10 mm socket | Tightens the new airbox to the crossmember. |
| New cold air intake kit (airbox, tube, coupler, clamps, seals) | Includes tube seal, MAF gasket + plate, IAT grommet, and a filter-minder plug. |
| Supplied hose clamps & hardware | Two new screws plus one reused OE screw for the airbox. |
| Airbox plug (optional) | Recommended for extreme heat, cold, or snow. |
Start at the Mass Air Flow (MAF) sensor. Unplug the electrical connector so you are not working around a live sensor.
Loosen the clamp at the mouthpiece — the connection between the intake tube and the turbo inlet — using a 5/16" or 8 mm wrench. Once it is loose, you can pull the factory intake tube straight out of the truck.
With the tube gone, lift up on the factory airbox. There are a couple of rubber grommets holding it down — pull those out and the whole OE airbox should come out as one piece.
If your truck already has an aftermarket intake, there will be a plate underneath held by five screws that anchors the airbox to the truck. Remove those five screws. There may also be a plastic shield on the side — it just pulls out from the side, so take that off too. [Verify: some competitor intakes use a different bracket pattern; confirm the new kit's plate lines up before discarding the old hardware.]
Now build the new intake before it goes into the truck.
Press the tube seal into the new airbox — it simply snaps into place. Follow with the second seal as supplied.
Remove the IAT (intake air temperature) sensor from the old tube with a T15 Torx bit and move it to the new intake tube. Using the supplied hardware, mount the MAF sensor to the new tube: lay down the gasket first, then the plate, and face the MAF sensor away from the kit logo so everything lines up. Tighten it down.
Transfer the filter-minder (restriction gauge) to the new tube if your truck is equipped with one — the kit also supplies a plug if you choose not to run it. This truck had one, so use the supplied grommet. Pro note: the installers do not recommend relying on the filter minder for service intervals on a high-flow intake, because the gauge is calibrated for the restrictive OE filter and will not read correctly when airflow is less restricted.
Slide the new airbox down into position. Three holes should line up on the crossmember. The kit supplies two screws, and you can reuse one of the original OE screws. Tighten everything with a 10 mm socket.
Airbox plug: you have the option of installing the plug in the airbox. The kit recommends it for extreme conditions — high heat, deep cold, or snow. For this install we left it out, but add it if you live where the weather is rough.
Drop the new air filter into the airbox. Before the tube goes on, rotate the clamp so you can reach it later. Install the hose clamps onto the coupler, then onto the intake tube.
With the coupler on, slide it into the airbox first, then slide it over the turbo inlet, and tighten all clamps. Before you tighten at the mouthpiece, put the air filter on and tighten that hose clamp first — you may need to loosen the clamp slightly to seat it. The flat side of the air filter faces the lid. Position the hose clamp where you can reach it at the next cleaning.
Tighten all the hose clamps up at the mouthpiece. A neat trick: hide the screws under the lip but keep them accessible. Reconnect the MAF sensor electrical connector.
Install the snap-in lid: peel the protective film off, line the notch up with the tab, slide it into the groove all the way around, then snap it into the airbox. California owners: place the supplied CARB sticker near the intake at the marked location to stay compliant.
That's the full install — a genuinely easy job with basic tools. If you have questions about this or any intake product, reach out to the iFJF team.
| Tip | Why it matters |
|---|---|
| Reuse one OE airbox screw | The factory screw is the correct length and thread for the crossmember; mixing all-new hardware risks a loose mount. |
| Rotate clamps before installing the tube | Once the tube is on, you can only reach clamps from one angle — set them now and save 15 minutes at the next filter change. |
| Don't trust the filter minder on a high-flow intake | It is calibrated for the restrictive OE filter; on a freer-flowing intake it under-reads restriction and can let you run a dirty filter too long. |
| Hide but don't bury the mouthpiece screws | Tucked under the lip looks clean and keeps them from vibrating loose, while staying reachable for service. |
While you are in there, these iFJF Duramax 6.6L parts are the most common companions to an intake service. All part numbers below are real iFJF / OE cross-references.
| Brand | Part # | Fits | Notes |
|---|---|---|---|
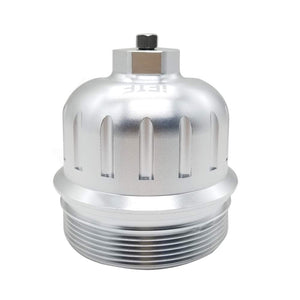
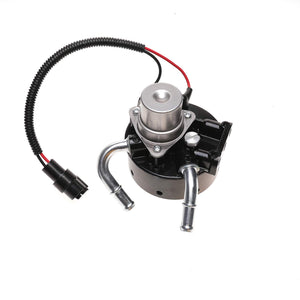
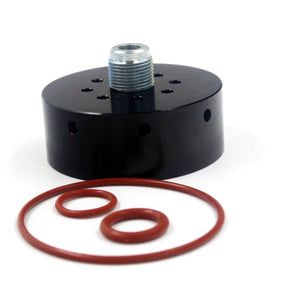
| iFJF | 12642623 | Duramax 6.6L 2005–2016 | Billet aluminum fuel filter head with hand primer pump. |
| iFJF | 12639277 | Duramax 6.6L 2001–2011 | Water-in-fuel sensor for the factory fuel filter head. |
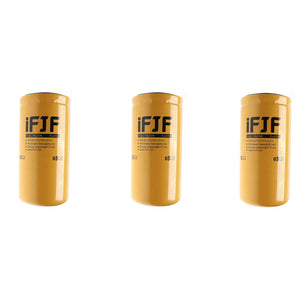
| Caterpillar | 1R-0750 | Duramax 6.6L (via refit head) | Spin-on 5-micron fuel filter; cross-refs TP3018, BF7633, P551313. |
| GM OE | TP3018 | Duramax 6.6L LBZ/LLY/LMM/LML | Original-equipment fuel filter cross-reference. |

While you're upgrading airflow with a new cold air intake, don't overlook the other weak point on your 6.6L Duramax: the factory plastic fuel filter head. This iFJF kit replaces it with a CNC-machined billet aluminum head and lets you run the legendary Caterpillar 1R-0750 spin-on filter for 5-micron protection at a fraction of OEM cost.
If you're already under the hood for an intake job, this is the perfect time to delete the cracked, air-leaking OE filter housing for good.
Shop Now →Plan on 30–45 minutes for a first-time install with basic hand tools. The job is mostly removing the OE airbox, transferring two sensors, and tightening clamps — no cutting or tuning required.
You need a 5/16" or 8 mm wrench for the mouthpiece clamp, a T15 Torx bit for the IAT sensor, and a 10 mm socket to mount the new airbox to the crossmember. The kit supplies all seals, clamps, and hardware.
No. A bolt-on cold air intake for the LBZ/LMM does not require a tune. It is a support mod that improves airflow; pair it with a fuel filter upgrade and regular maintenance for the best results.
You can, but the installers advise against relying on it for service intervals. The restriction gauge is calibrated for the restrictive factory filter and will not read accurately on a high-flow intake. Follow a mileage-based interval instead (typically every 10,000–15,000 miles in normal conditions).
If the kit ships with a CARB exemption sticker, place it near the intake at the marked location — that is what keeps the install compliant in California. Always confirm the specific kit's CARB status before purchase.