
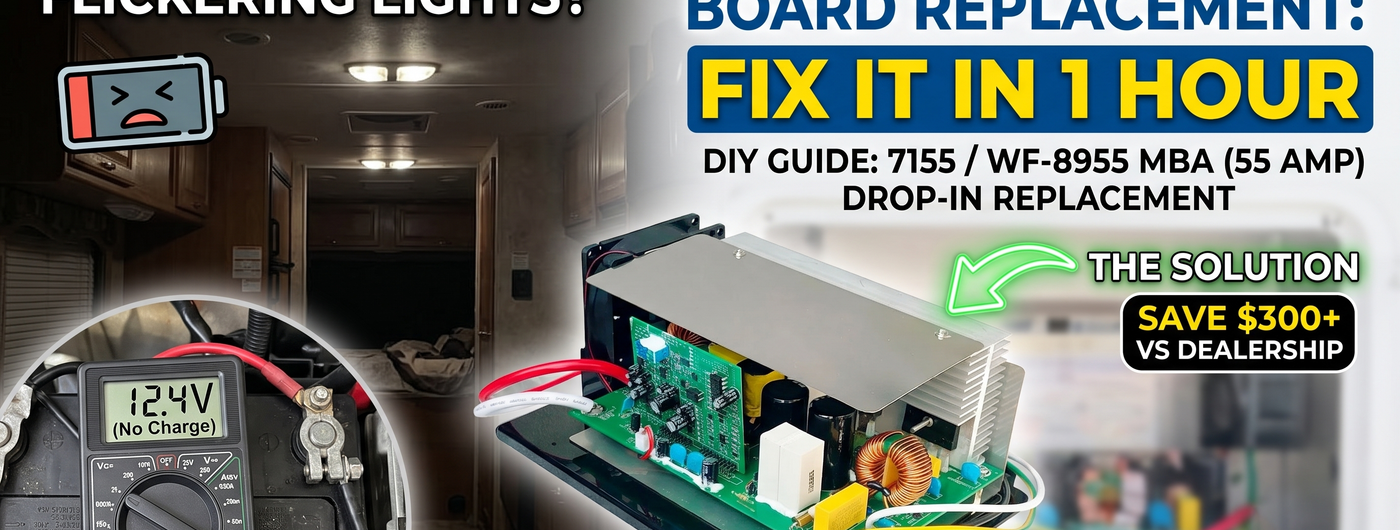
WFCO WF-8955 MBA RV Converter Board Replacement: Fix Dead Batteries and Flickering Lights in an Hour
, by iFJF Direct, 9 min reading time
, by iFJF Direct, 9 min reading time

The WFCO WF-8955 is the most common power center in mid-range travel trailers and fifth wheels from about 2010 onward. When it works, you don't think about it. When the converter board fails, your batteries die, your lights flicker, and your slides won't move. The good news: replacing just the converter board — the WF-8955 MBA main board assembly — costs about $170 and takes about an hour. A dealership will charge you $500+ for the same job, and they'll probably sell you a whole new power center you don't need.
This is the 7155 Converter Main Board Assembly, a direct drop-in replacement for the WF-8955 MBA 55-amp DC converter section. No cutting, no splicing — just unplug the old, bolt in the new.
Before you throw parts at it, confirm the converter board is the problem. The WF-8955 is a combination unit: it has AC breakers, DC fuses, and the converter/charger section all in one metal box. The converter board is the part that takes 120V AC shore power and turns it into 12V DC to charge your battery and run your 12V stuff.
Dead converter signs:
Two things to check first — both are free and take 30 seconds:
If both check out and you still have no 13.6V+ at the battery with shore power, the converter board is toast.
Unplug shore power. Disconnect the battery negative cable. If you have a battery disconnect switch, turn it off too. Then unplug the battery positive. You're working inside a metal box with 120V AC — do not skip this step. Zero power means zero chance of a shock or a short.
The WF-8955 front panel comes off with 4-6 screws around the perimeter. Remove the screws and pull the panel forward gently — there are wires attached to the fuse board that stay connected. You just need access to the converter section, which is the lower half of the power center.
Before you unplug a single wire, take clear photos of where everything connects. At minimum, you need photos of:
A photo is worth a hundred "was this red wire on the left or right?" arguments with yourself later.
The converter board is held in by 4 screws — two at the top, two at the bottom. Remove them. Unplug the AC connector (it's a Molex-style plug, just pulls straight out). Disconnect the DC output wires — these are usually ring terminals under nuts on the DC output studs. Remove the ground wire. Slide the old board out.
Slide the new 7155 converter board into the lower bay. It's a direct fit — same mounting holes, same connector positions. Bolt it in with the 4 screws. Connect the DC output wires to the output studs: red to positive (+), white to negative (-). Tighten the nuts firmly — loose connections create resistance, resistance creates heat, heat creates problems.
Plug in the AC connector. Reconnect the chassis ground. Double-check that every connection is tight and everything matches your photos.
Put the front panel back on. Reconnect the battery (positive first, then negative). Plug in shore power. You should hear the converter fan kick on within a few seconds. Check battery voltage at the terminals:
If your power center label says WF-8955 or WF-8955 MBA, you need the standard MBA board. The WF-8955-AD is a newer auto-detect model that automatically switches between lead-acid and lithium charging profiles. The boards are not interchangeable — check your label.
The 7155 replacement board is designed for lead-acid and AGM batteries. It charges at a fixed profile (bulk 14.4V, absorption 13.6V, float 13.2V). For lithium you need a converter with a dedicated lithium charging profile. However, many RVers with smaller lithium banks run these converters without issues — the voltages are within acceptable range, just not optimal for maximum lithium lifespan.
Some transformer hum is normal. If it's loud enough to hear across the RV, check that the mounting screws are tight. A loose converter board vibrates against the metal case. Add rubber washers behind the mounting screws if the noise bothers you.
Yes. The converter section is in the lower half of the WF-8955 and is designed to be serviced from the front. Pull the front cover, swap the board, done. The power center stays mounted in the wall. Total workspace needed is about 12 inches in front of the unit.
Flickering with a working converter usually points to a loose connection somewhere in the DC distribution — check the bus bars, fuse holders, and wire nuts. Also check your battery terminals for corrosion. If you have a battery disconnect switch, cycle it a few times — the contacts can develop resistance over time.