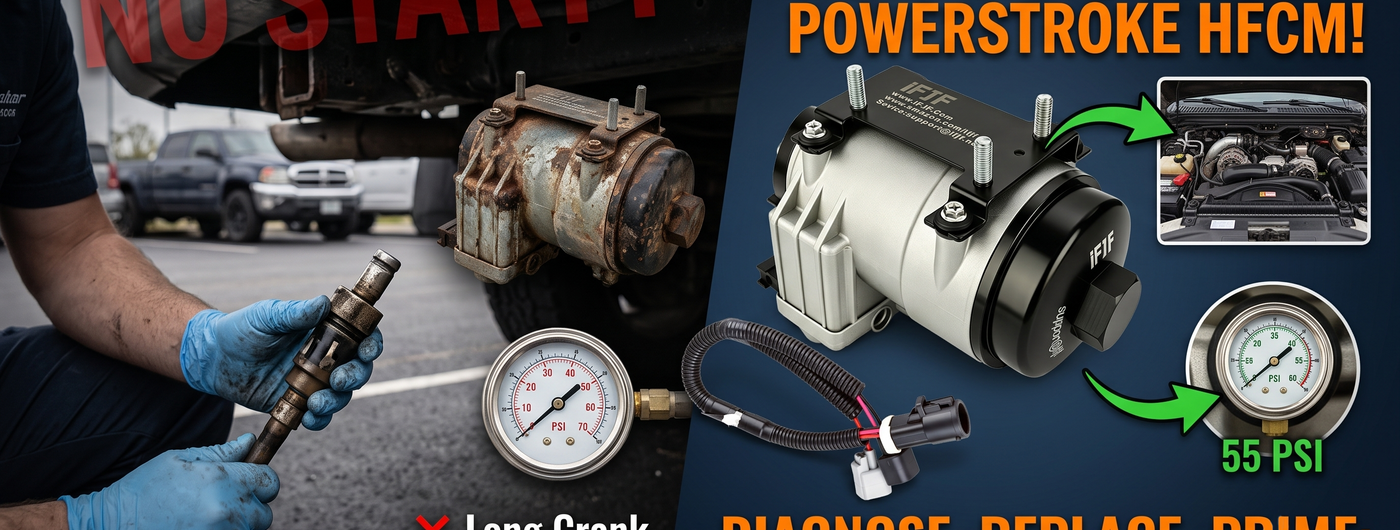
Ford 6.0L Powerstroke HFCM Fuel Pump Replacement Guide: Diagnose, Remove, Replace, and Prime
, by iFJF Direct, 10 min reading time
, by iFJF Direct, 10 min reading time

Complete guide to diagnosing, removing, and replacing the HFCM fuel pump on 2003-2007 Ford 6.0L Powerstroke. Step-by-step instructions with torque specs, common mistakes, and priming procedure.
Your 6.0 Powerstroke is cranking but won't fire. You're sitting in a parking lot, key turned, starter spinning, and nothing. Been there. Nine times out of ten, when a 6.0 cranks without catching, you're looking at a fuel delivery problem. And the usual suspect is the HFCM sitting on your driver-side frame rail.
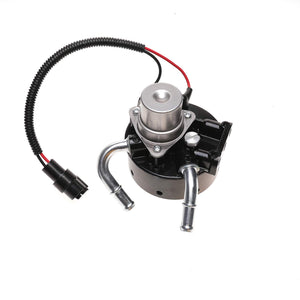
The Horizontal Fuel Conditioning Module — HFCM for short — is the heart of your low-pressure fuel system. It houses the lift pump, the primary fuel filter, the water separator, and the fuel heater. When it quits, so does your truck. This guide walks you through diagnosing a failing HFCM, pulling the old unit, bolting in a new PFB-101 Fuel Pump Assembly, and priming the system right so it fires on the first try.
Before you throw parts at it, nail down the diagnosis. Here's what a failing HFCM looks like:
If you've got two or more of these, the HFCM is done. Don't bother trying to rebuild it. The internal gerotor pump wears out and the electric motor burns up — there's no economical fix. A complete assembly like the PFB-101 comes with a new pump, filter, manifold, water separator, and heater element in one unit. One bolt-in, done.
Gather this before you crawl under the truck. Nothing worse than getting halfway through and realizing you're missing a socket.
Check the wiring harness connector while you're under there. If the pins are green or crusty, throw a new HFCM wiring harness on. A corroded connector will kill a brand new pump in months.
Locate the 6mm hex plug on the side of the HFCM, facing the driver side. Slide your catch pan underneath. Crack the plug loose — expect 4-8 ounces of diesel and possibly water. Let it drain until you get clean fuel. Snug the plug back finger-tight so it doesn't leak while you work.
Open the fuel cap to release tank pressure. If you have a pinching tool, clamp the rubber section of the feed line from the tank. Not mandatory, but it keeps the whole tank from siphoning out on you.
Unplug the main wiring connector on the back of the HFCM. Press the tab, wiggle gently, pull straight out. If it fights you, the connector body is probably swollen from heat cycling. A flathead screwdriver under the tab usually pops it loose. Check the pins — if they're corroded, that's your cue to install the new harness.
You've got four lines: supply from tank, return to tank, output to the secondary filter, and a vent line. Use the fuel line disconnect tool — slide it over the line, push it into the fitting collar, then pull the line off. Don't yank. If the collar doesn't release, rotate the line while pushing the tool in. These fittings don't like force; they break.
Cap the open lines with rubber plugs or wrap them in clean rags. Dirt in a fuel line is a future injector failure.
Three 13mm bolts hold the HFCM to its mounting bracket on the frame rail. Support the unit with one hand while you pull the last bolt — the assembly weighs about 8 lbs and you don't want it landing on your face. Lower it out and set it aside.
Some PFB-101 units come with a new bracket; some reuse the old one. Compare side by side. If reusing, wire-brush the mounting surfaces clean. A little surface rust here isn't a problem, but loose scale will throw off alignment.
Lift the new assembly into position. Thread all three bolts by hand first, then tighten in a crisscross pattern. Torque to 18 ft-lbs — no more. The bracket ears will snap if you lean on them with a breaker bar.
Push each line onto its fitting until you hear a solid click. Give each one a firm tug to confirm it's locked. A line that pops off at 50 psi will empty your tank onto the highway.
Push the connector on until the tab snaps. If you installed the new wiring harness, zip-tie it away from the exhaust and any sharp edges on the frame.
This is where people screw up. Don't just crank until it fires — you'll smoke the starter and air-lock the high-pressure oil system.
Cycle the key to RUN (not START) for 30 seconds. The fuel pump will run and fill the module. Turn key OFF for 10 seconds. Repeat this 6 to 8 times. You should hear the pump pitch change — it goes from a fast clicking to a steady hum when the module is full and fuel pressure is up.
On the 8th cycle, try starting. It should catch within 3-5 seconds of cranking. If it doesn't, do two more key cycles. If it still won't start, check for a kinked supply line or a loose connector.
| Fastener | Torque |
|---|---|
| HFCM bracket-to-frame bolts | 18 ft-lbs (24 Nm) |
| Fuel filter cap | Hand-tight plus 1/4 turn (do not use a wrench) |
| Water drain plug (6mm hex) | 8 ft-lbs (11 Nm) — snug, don't strip it |
| Manifold cover bolts (if replacing manifold) | 7 ft-lbs (10 Nm) |
Skipping the prime procedure. Cranked the starter for 45 seconds straight, filled the cylinders with unburned fuel, washed down the rings. Now you've got bigger problems. Key cycle 6-8 times. It costs nothing but patience.
Not replacing the filters. You just installed a $250 pump assembly and left a $10 filter full of 15,000-mile debris in the loop. The FD-4616 fuel filter set is cheap insurance.
Over-torquing the filter cap. The cap is plastic. If you use a strap wrench to tighten it, you'll crack the cap or the manifold housing threads. Hand-tight, then a quarter turn.
Ignoring the corroded harness. A new pump with a crusty connector is like new tires on bent rims. If the pins have green fuzz or the connector body is brittle, swap the wiring harness.
Using the wrong disconnect tool. The metal ring-style tools don't release the internal clips on these quick-connect fittings. Use the plastic scissor type. Costs $8 at any parts store.
1. Do the blue spring upgrade while you're in there. The factory fuel pressure regulator spring is weak. A blue spring kit bumps pressure from 45 psi to 60+ psi and eliminates the dead-head fuel pressure drop that kills injectors. It's a 15-minute job with the HFCM already accessible. We've covered similar fuel system upgrades in our Ram 6.7L Cummins fuel filter guide — same principle, different platform.
2. Cycle the key from inside the truck with the door open. You'll hear the pump run and can track when it changes pitch (primed vs. air). Saves you from crawling in and out six times.
3. Keep a spare fuel filter in the glovebox. These trucks run a two-stage filtration system — the HFCM filter (primary) and the engine-mounted filter (secondary). When one gets plugged from bad fuel, you're stranded. We stock the full 6.0L Powerstroke parts range for this exact reason.
4. Check the fuel pressure regulator before condemning the pump. A stuck-open regulator will bleed pressure and mimic a dead pump. If you're unsure whether the pump or regulator is the culprit, pull the regulator return line, cap the port, and test pressure. If it jumps to 70+ psi with the regulator blocked, the pump is fine and the regulator is junk.
5. Delete the EGR if you haven't already. The 6.0's EGR system dumps soot into the intake, cooks the EGR cooler, and eventually takes out the head gaskets. We've got a full breakdown on what EGR deletes actually do and whether it's right for your truck. Spoiler: if your 6.0 still has a functioning EGR cooler, it won't for long.
A driveway mechanic with basic tools: 2 to 3 hours. A shop with a lift: about 1.5 hours. Add 30 minutes if you're doing the wiring harness and filters at the same time.
Sometimes. Low fuel pressure can trigger P2291 (Injector Control Pressure Too Low) or P0087 (Fuel Rail Pressure Too Low). But a weak pump that hasn't completely failed often won't set a code. If you're getting long cranks with no CEL, check fuel pressure manually.
You can buy individual gaskets, o-rings, and the internal pump motor, but by the time you add up the parts and labor, a complete assembly costs less. The manifold housing also cracks with age, and no rebuild kit fixes that. Go with a complete unit.
Yes — F-250, F-350, F-450, F-550 Super Duty, and 2003-2005 Excursion. Same part across all cab configurations and bed lengths. Direct replacement for Ford part number 6C3Z-9G282-C.
Every oil change — 5,000 miles. Diesel picks up condensation, and water in the injection system is destructive. If you buy fuel from a high-volume station and use good filters, monthly is fine. If you fill up from farm tanks or jerry cans, check it every two weeks.
More 6.0L maintenance: FA1778 Air Filter • HFCM Fuel Manifold • Shop All 6.0L Parts